
Why Build Your Own Rock Tumbler?
Commercial rock tumblers cost $50-$200, but a homemade version achieves similar results while teaching mechanical principles. This project costs under $20 using repurposed materials, making it ideal for educators, hobbyists, and families. Unlike store-bought models, you'll understand every component—perfect for STEM learning or sustainable crafting.
Essential Materials Checklist
| Item | Household Alternative | Why It Matters |
|---|---|---|
| 5-gallon plastic bucket | Coffee can (for small batches) | Must withstand constant rotation without cracking |
| DC motor (12V) | Old electric toothbrush motor | Requires 30-60 RPM for effective polishing |
| Silicone sealant | Hot glue + waterproof tape | Prevents grit leakage during operation |
Step-by-Step Construction Guide
1. Building the Tumbling Chamber
- Container prep: Drill 3/8" hole in bucket lid center for motor shaft. Line interior with 120-grit sandpaper (adhesive side out)
- Sealing: Apply silicone around lid seam. Test for leaks with water before adding rocks
- Pro tip: Use a rubber gasket from plumbing supplies for vibration reduction
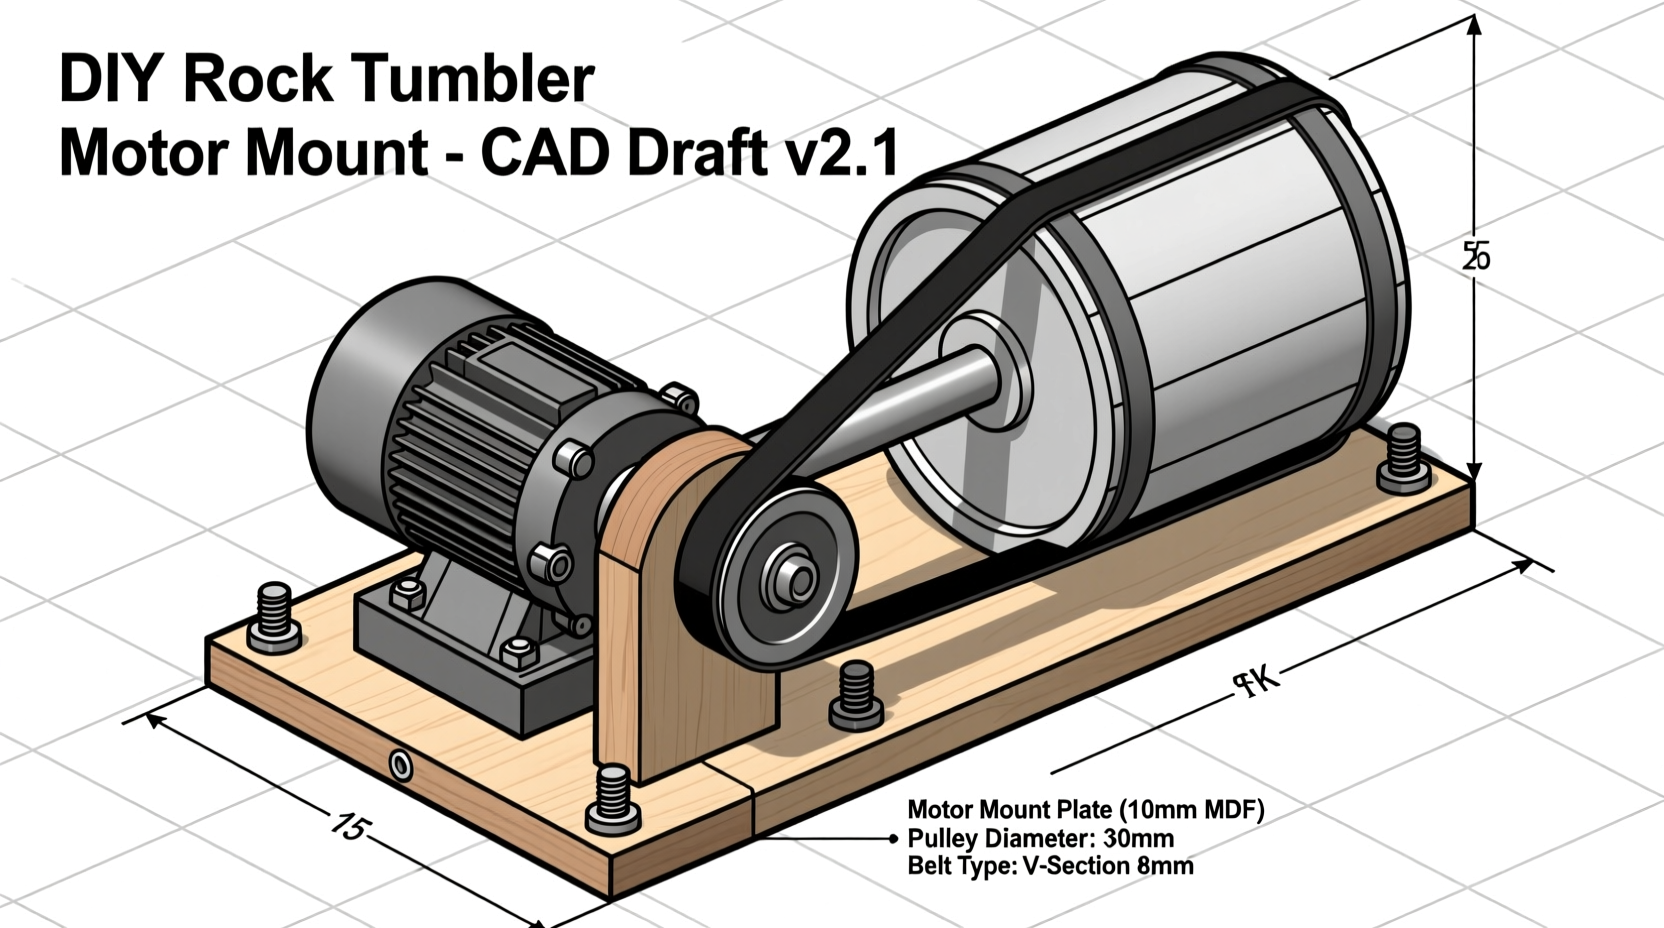
2. Motor Mounting System
Mount the motor to a wooden base using L-brackets. Connect the shaft to the bucket lid with a flexible coupling (prevents wobble). Critical safety note: Always use a GFCI outlet and enclose moving parts.
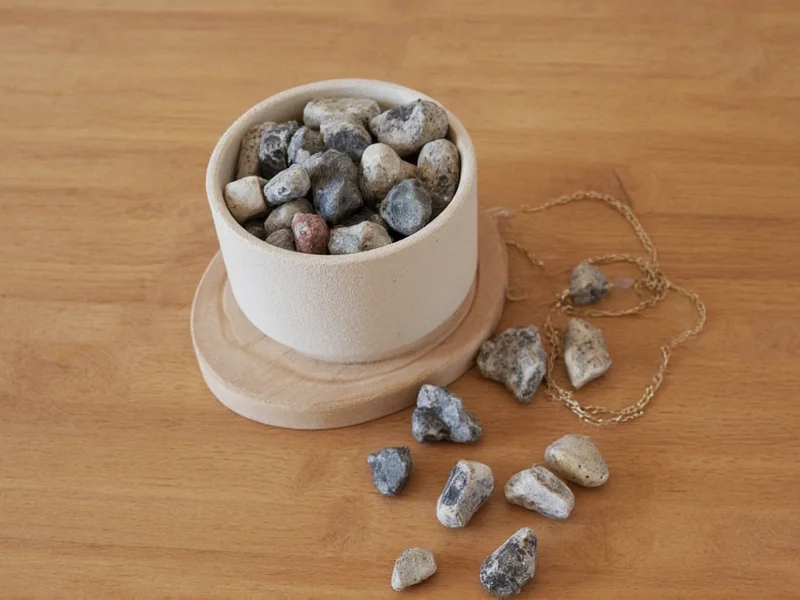
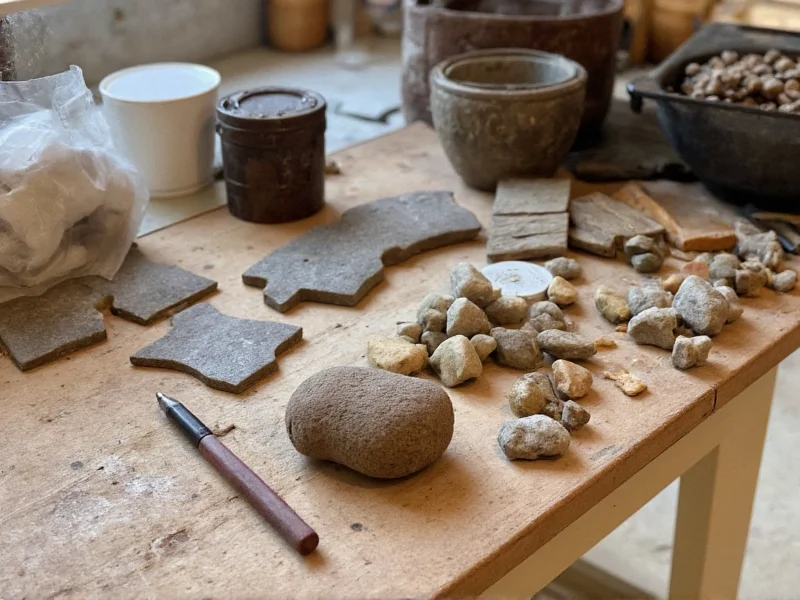
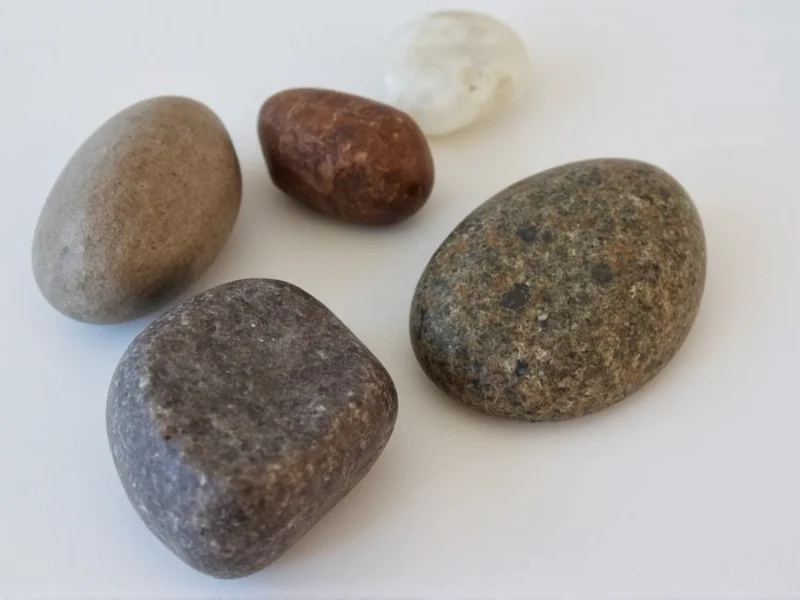
3. Rock Selection & Loading
Rock Compatibility Guide
Use: Quartz, agate, jasper (hardness 7+)
Avoid: Calcite, gypsum (too soft), fossils (will disintegrate)
Ratio: 60% rocks, 30% grit, 10% water
Troubleshooting Common Issues
| Problem | Solution | Prevention Tip |
|---|---|---|
| Rocks not smoothing | Extend Stage 1 (coarse grit) by 3-5 days | Use uniform rock sizes; avoid mixing hardness levels |
| Motor overheating | Reduce load by 25%; add cooling fan | Never exceed 70% container capacity |
Advanced Polishing Techniques
For professional results, follow this 4-stage grit progression:
- Stage 1 (7 days): 60/90 grit silicon carbide - shapes rough edges
- Stage 2 (5 days): 120/220 grit - removes coarse scratches
- Stage 3 (4 days): 500 grit - creates satin finish
- Stage 4 (3 days): Aluminum oxide polish - achieves glass-like shine
Key insight: Water quality affects results. Distilled water prevents mineral deposits that cause cloudy finishes—this professional trick is rarely mentioned in commercial guides.
Safety & Sustainability Notes
- Always wear eye protection when handling grit
- Reuse water through a coffee filter to capture sediment
- Repurpose old power tools instead of buying new motors
Frequently Asked Questions
Can I use a washing machine motor for a DIY rock tumbler?
Yes, but you must add a speed reducer. Washing machine motors run at 1000+ RPM—too fast for tumbling. Use a pulley system to reduce speed to 30-60 RPM for optimal results.
How long does the entire tumbling process take?
Total time ranges from 14-28 days depending on rock hardness. Agate typically requires 21 days across all grit stages, while quartz may need 28 days. Never shorten Stage 1—this causes uneven polishing.
Why does my tumbler produce cloudy stones?
Cloudiness usually comes from hard water minerals or skipping the 500-grit stage. Use distilled water in Stage 4 and ensure thorough rinsing between grit changes. Aluminum oxide polish requires 72 hours for full clarity.
Can I tumble fossils or delicate specimens?
No. Fossils and soft minerals like calcite will disintegrate. Only tumble rocks with Mohs hardness of 7 or higher (quartz, agate, jasper). For delicate specimens, use a vibratory tumbler instead.


 浙公网安备
33010002000092号
浙公网安备
33010002000092号 浙B2-20120091-4