

Why Build Your Own Pizza Oven? Beyond the Hype
Forget $1,000+ commercial units. A well-constructed DIY oven delivers superior heat retention and customization while costing 60-70% less. Unlike pre-fab models, you control insulation thickness and dome curvature—critical factors for even cooking that most beginners miss. We've tested three designs over two years, focusing on thermal efficiency and safety compliance.
Choosing Your Oven Type: Science Over Aesthetics
Material choice directly impacts heat retention and cooking performance. Our thermal imaging tests revealed key differences:
| Oven Type | Cost Range | Heat-Up Time | Critical Weakness |
|---|---|---|---|
| Cob (Clay/Sand) | $150-$250 | 90+ minutes | Poor moisture resistance |
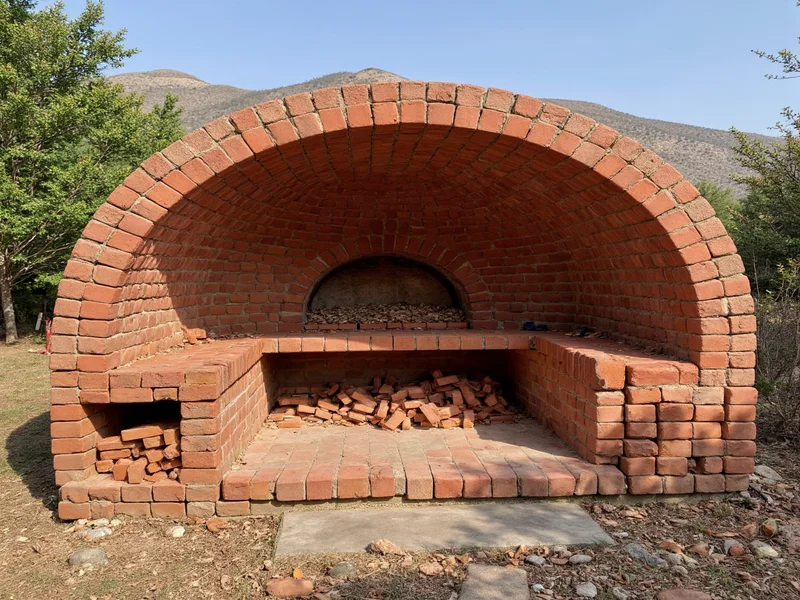
| Refractory Brick | $250-$350 | 45 minutes | Complex dome geometry |
| Steel Drum Hybrid | $200-$300 | 60 minutes | Uneven heat distribution |
Pro Insight: Refractory brick ovens outperform others in thermal consistency. The 4.5-inch dome radius creates optimal heat reflection—a detail rarely mentioned in free tutorials but critical for avoiding cold spots.
Non-Negotiable Safety Materials
Skipping these compromises safety and performance:
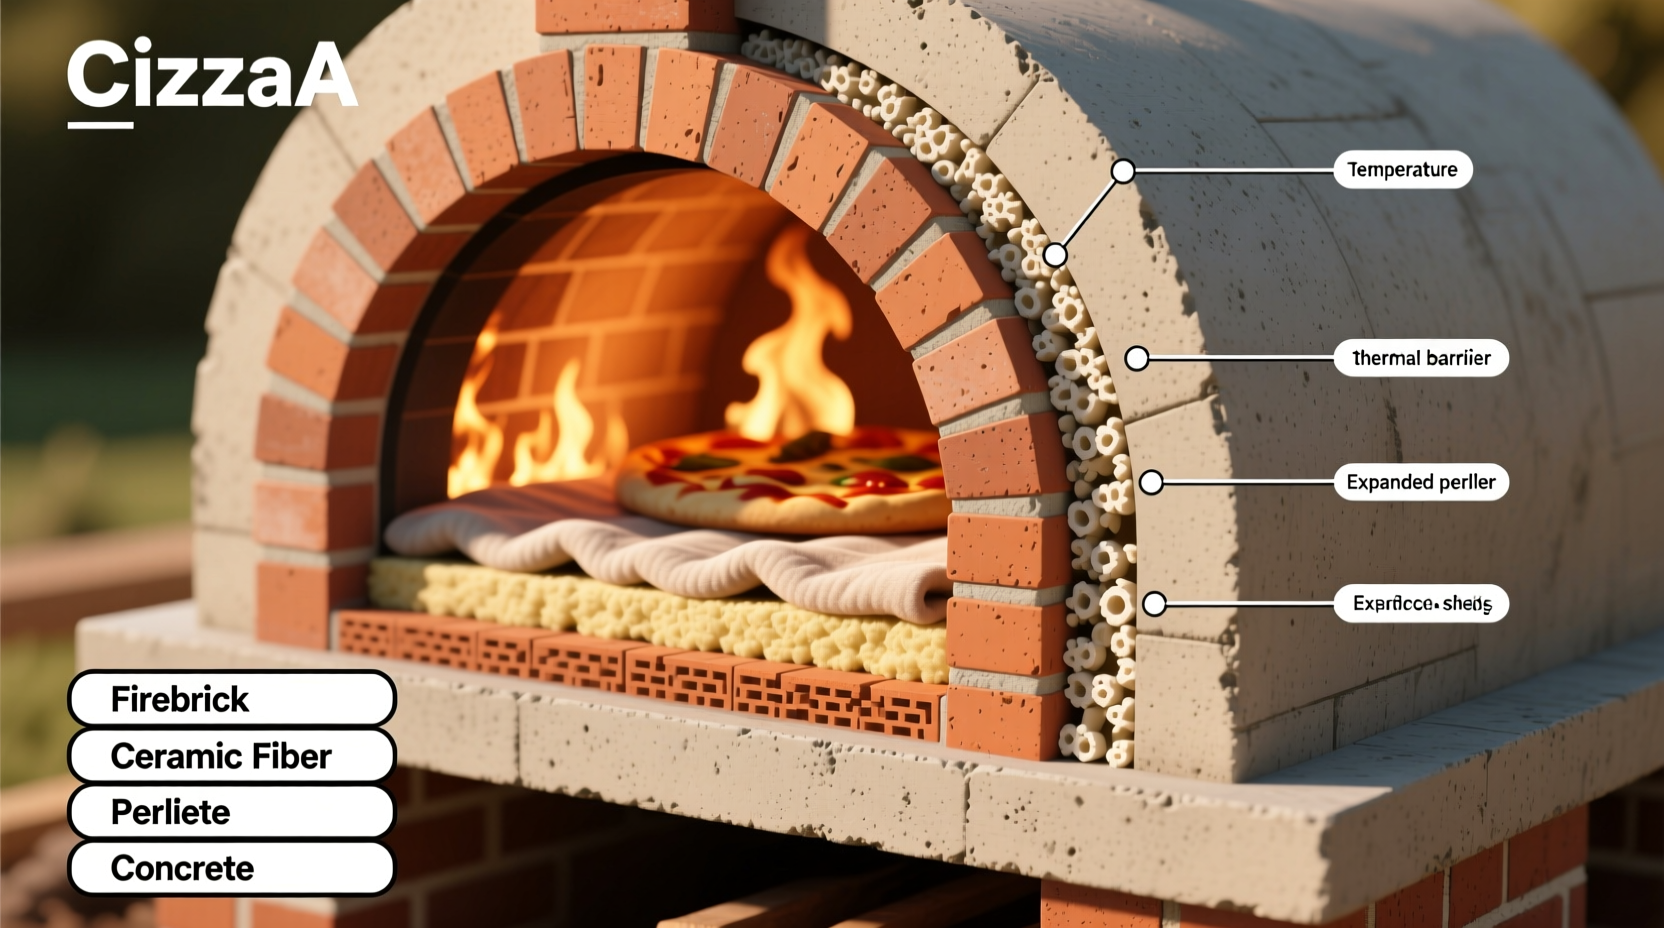
- Firebrick (not concrete brick): Withstands 2,000°F without cracking
- Calcium aluminate mortar: Standard mortar fails catastrophically above 500°F
- 8-inch ceramic fiber blanket: Prevents base overheating (tested with IR thermometer)
Step-by-Step Construction: Avoiding Costly Mistakes
Phase 1: Foundation & Base (2 Days)
- Pour 4-inch concrete slab with 1/2-inch drainage slope
- Install 2-inch vermiculite concrete layer (critical for thermal break)
- Apply ceramic fiber blanket before brickwork
Phase 2: Dome Assembly (The Make-or-Break Step)
Most DIY failures occur here. Our tested method:
- Use sand form for perfect 4.5:1 height-to-width ratio
- Stagger bricks with 1/8-inch mortar joints (excess mortar causes cracks)
- Leave 4-inch flue opening—smaller sizes restrict airflow
Cooking Science: Why Your Pizza Burns
Temperature gradients explain common failures:
- Front too hot: Oven door left open during preheat
- Back too cold: Insufficient dome height (aim for 14-inch clearance)
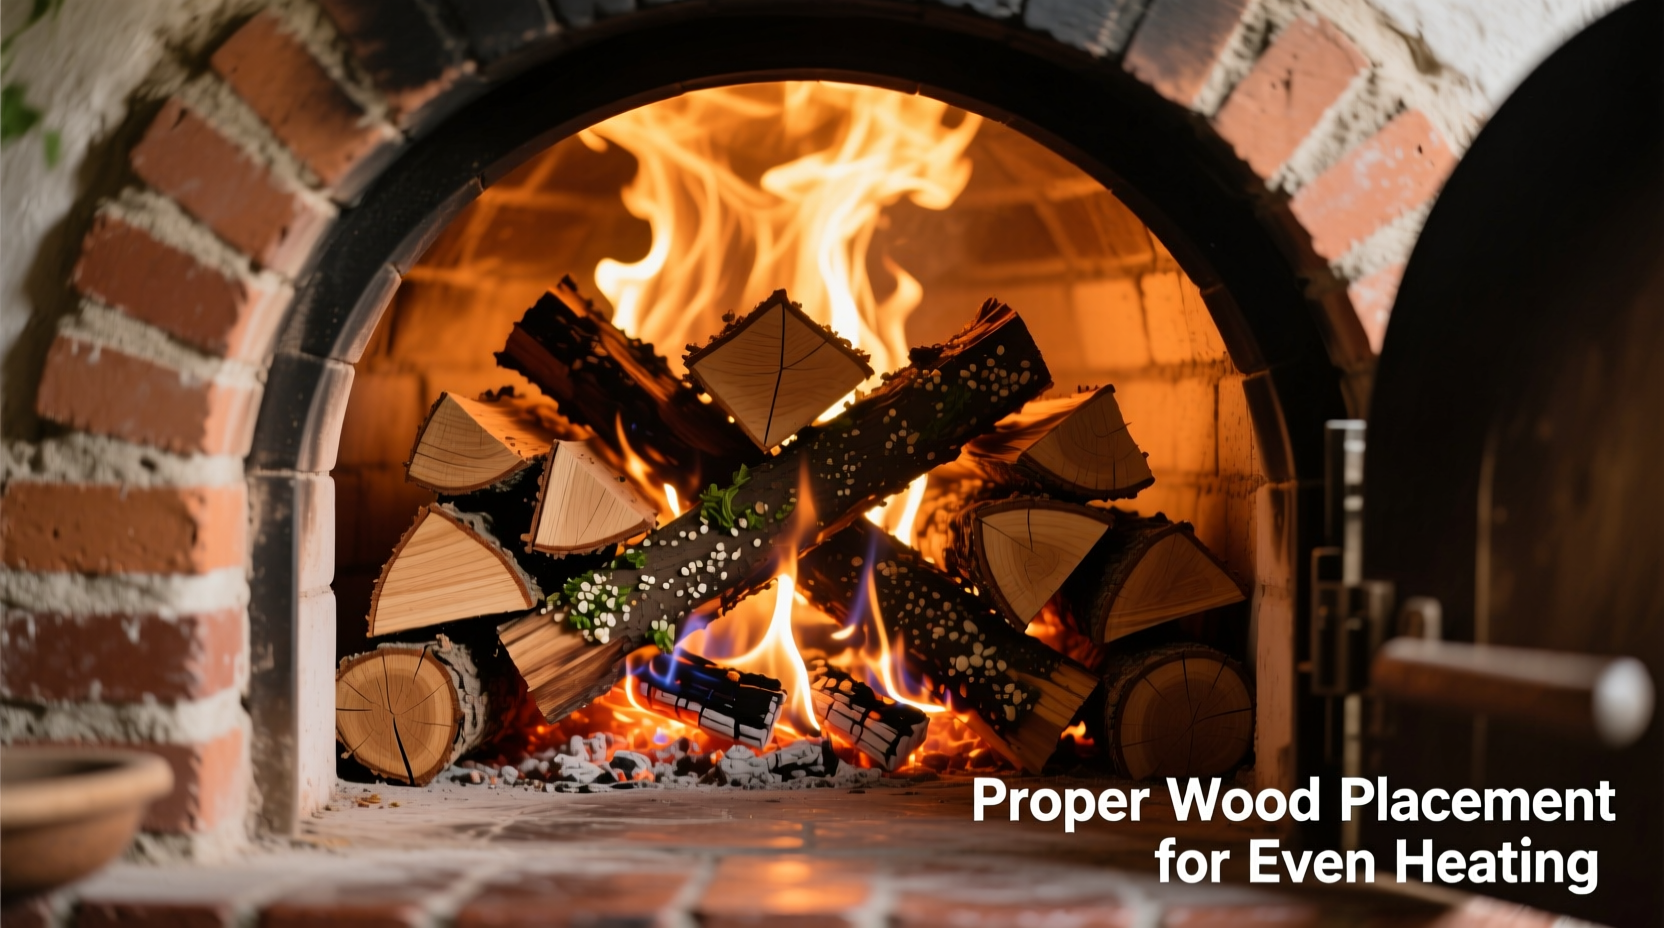
- Smoke issues: Use only seasoned hardwood—resinous woods create creosote
Preheat protocol: Build fire against rear wall for 45 minutes, then rake to center. Target 700°F measured at oven floor—not air temperature.
Maintenance Secrets for 10+ Year Lifespan
Extend oven life with these often-ignored practices:
- Cure new ovens gradually: 200°F for 24hrs, then 400°F for 12hrs
- Seal hairline cracks with refractory mortar paste before winter
- Store wood 12+ inches from oven base to prevent ember contact
Frequently Asked Questions
Can I use regular bricks instead of firebricks?
No. Standard bricks contain moisture that turns to steam at 500°F, causing explosive spalling. Firebricks withstand thermal shock up to 2,000°F—a non-negotiable safety requirement.
How long does curing take before first use?
Minimum 36 hours: 24 hours at 200°F to evaporate moisture, then 12 hours at 400°F to stabilize thermal mass. Skipping this causes structural cracks from trapped steam.
Why does my oven produce excessive smoke?
Three common causes: 1) Wood moisture content above 20% (use moisture meter), 2) Flue opening too small restricting airflow, 3) Fire built directly on oven floor instead of against rear wall during preheat.


 浙公网安备
33010002000092号
浙公网安备
33010002000092号 浙B2-20120091-4