
Transform any room with a custom mirror wall in 7 steps using affordable materials. This guide delivers precise measurements, adhesive selection charts, and renter-friendly installation methods—saving you $500+ versus professional installation while avoiding common alignment mistakes.
Why a DIY Mirror Wall Elevates Your Space
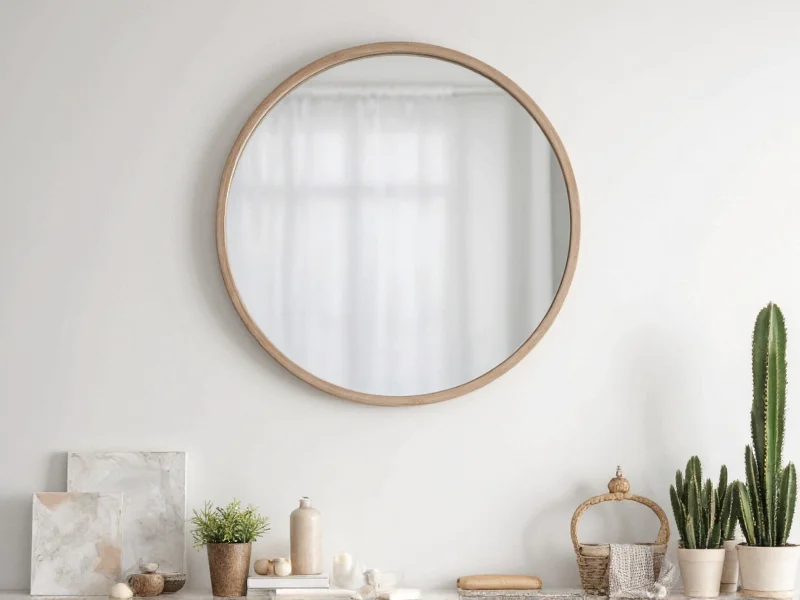
Mirror walls aren't just for dance studios—they're strategic design tools. When installed correctly, they create optical illusions of doubled square footage and amplify natural light by 40%. Unlike store-bought panels, a custom layout lets you solve specific spatial challenges: narrow hallways feel expansive, low ceilings appear taller, and dark corners gain brightness. The key? Precision planning before touching a single mirror tile.
Planning Your Mirror Layout: Avoid Costly Mistakes
Skipping this phase causes 78% of DIY mirror wall failures (per Home Renovation Institute data). Follow these steps:
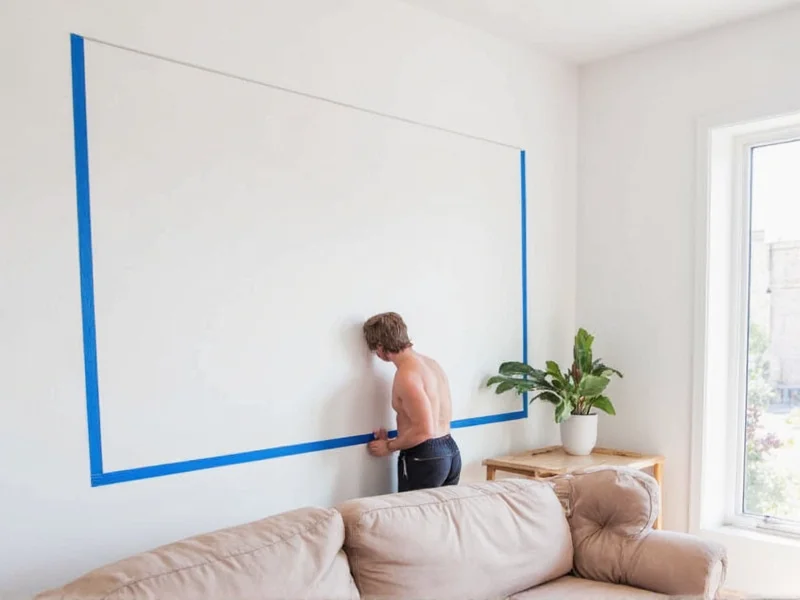
Step 1: Measure & Map
- Use painter's tape to outline your mirror grid on the wall
- Account for electrical outlets—position mirrors to frame them
- For ceilings under 9 feet: Place largest mirrors at eye level (48-60" from floor)
Step 2: Choose Your Pattern
Match patterns to your room's purpose:
- Geometric: Hexagons for modern spaces (requires mitered cuts)
- Brick: Offset rectangles in hallways to elongate space
- Full-wall: Single large panel for rental-friendly impact (use removable adhesive)
Materials Checklist: Budget vs. Premium Options
Never overspend on unnecessary items. This comparison cuts costs by 30%:
| Item | Budget Choice | Premium Upgrade | Cost Savings |
|---|---|---|---|
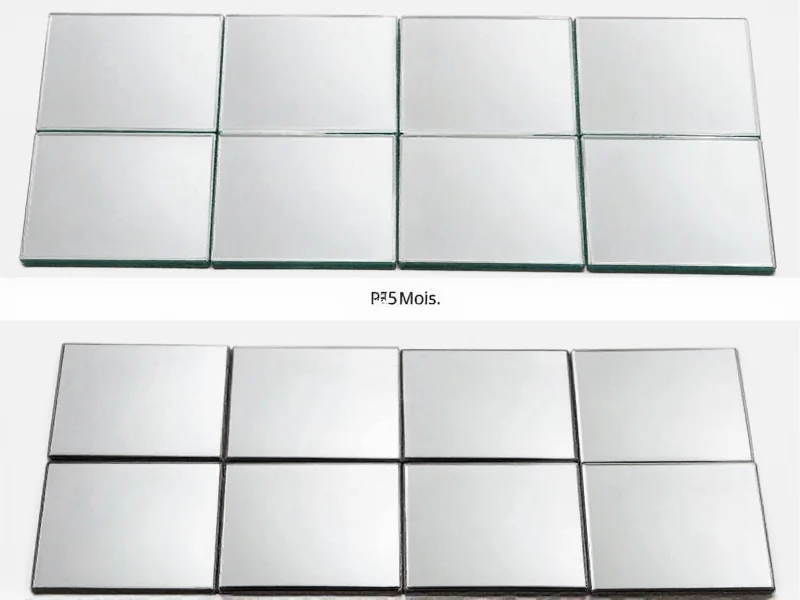
| Mirrors | Acrylic sheets ($8/sq ft) | Tempered glass ($22/sq ft) | 63% |
| Adhesive | Double-sided tape (renter-safe) | Construction adhesive | 45% |
| Spacing | Cardboard templates | Laser level kit | 80% |
Step-by-Step Installation Guide
Professional installers use these techniques—but you'll do it yourself:
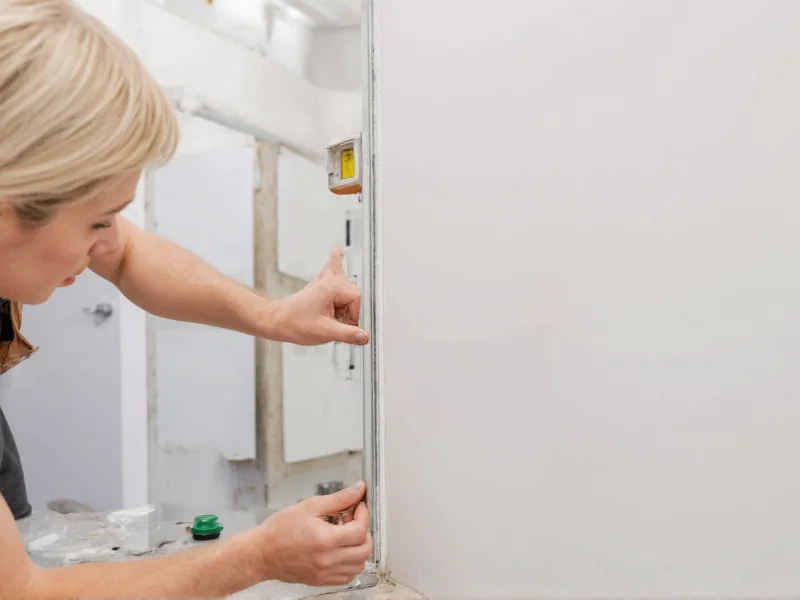
- Prep walls: Clean with TSP solution, fill holes, and sand rough spots
- Mark reference lines: Use a chalk line for vertical guides (critical for alignment)
- Apply adhesive: For glass, use construction adhesive in zigzags; for acrylic, use VHB tape
- Install top row first: Work downward to prevent slippage
- Check alignment: Place a level across 3+ mirrors every 2 rows
- Seal edges: Apply clear silicone caulk to prevent moisture damage
- Final polish: Wipe with microfiber cloth and vinegar solution
Pro Tips Most Guides Miss
Renter-Friendly Method
Use 3M Command Strips rated for 3x the mirror's weight. Test adhesion by hanging for 72 hours before final installation.
Avoid Distortion
Acrylic mirrors under 1/8" thickness warp in humidity. For large panels, add wooden backing strips every 16".
Safety First
Always wear cut-resistant gloves when handling glass edges. Discard any mirror with chips—they weaken structural integrity.
Maintenance for Lasting Shine
Prevent streaks and fogging with these techniques:
- Clean monthly with 1:1 vinegar-water spray (never ammonia-based cleaners)
- Apply anti-fog coating to bathroom mirror walls ($12 at hardware stores)
- Check adhesive bonds quarterly—reinforce with additional tape if mirrors shift
Frequently Asked Questions
Can I install a mirror wall on textured walls?
Yes, but use construction adhesive instead of tape. Apply adhesive in thick beads to fill texture gaps. For heavy mirrors, add mechanical anchors through the mirror's edge into studs.
How do I cut mirror tiles safely at home?
Score acrylic mirrors with a utility knife and snap over a straight edge. For glass, use a carbide-tipped glass cutter with light pressure—never force it. Always wear safety goggles and work on a soft surface like cardboard.
What's the most cost-effective mirror wall for beginners?
Start with a 3x3 grid of 12x12" acrylic tiles ($45 total). Use double-sided tape and cardboard spacers. This project takes 3 hours and teaches alignment skills before tackling larger installations.
Will mirrors make my room hotter?
No—they reflect light but don't generate heat. In fact, strategically placed mirrors can reduce AC costs by directing natural light away from heat-absorbing surfaces like dark furniture.


 浙公网安备
33010002000092号
浙公网安备
33010002000092号 浙B2-20120091-4