
Restoring cloudy headlights with DIY methods costs $5-$15 and takes 30-60 minutes using household items like toothpaste, baking soda, or vinegar. Properly executed DIY cleaning can restore 80-90% of original clarity when followed with UV-protective sealing to prevent rapid re-oxidation.
Why Your Headlights Turn Yellow (And Why It Matters)
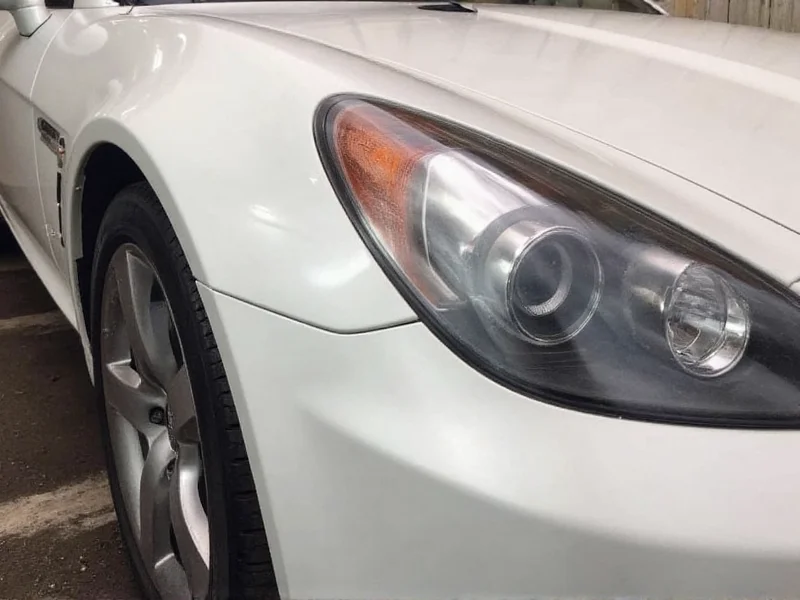
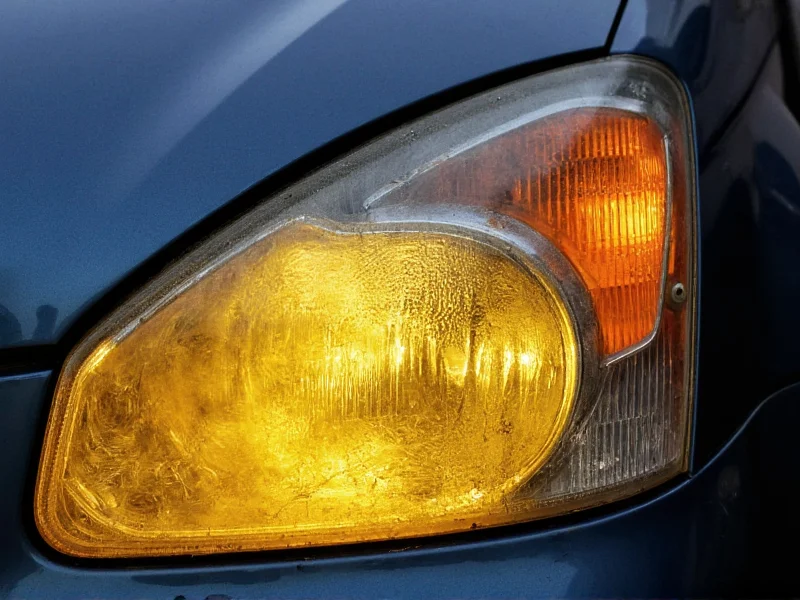
Modern headlights use polycarbonate plastic lenses that degrade when exposed to UV radiation, road chemicals, and environmental pollutants. Unlike glass headlights from decades ago, these plastics develop microscopic cracks that trap dirt and oxidize, creating that familiar yellow film. This isn't just cosmetic—the Insurance Institute for Highway Safety found that degraded headlights can reduce nighttime visibility by up to 80%, significantly increasing accident risk.
DIY Headlight Restoration: 3 Proven Methods Compared
Before grabbing the first cleaning product you find, understand which method matches your situation. Each approach has distinct advantages depending on your headlight condition and available time.
| Method | Time Required | Cost | Effectiveness | Longevity |
|---|---|---|---|---|
| Toothpaste Scrub | 20-30 minutes | $2-5 | Good for mild oxidation | 1-3 months |
| Baking Soda Paste | 45-60 minutes | $3-8 | Better for moderate oxidation | 3-6 months |
| Vinegar Soak + Sanding | 60-90 minutes | $5-15 | Best for severe oxidation | 6-12 months |
The Complete DIY Headlight Cleaning Process (Step-by-Step)
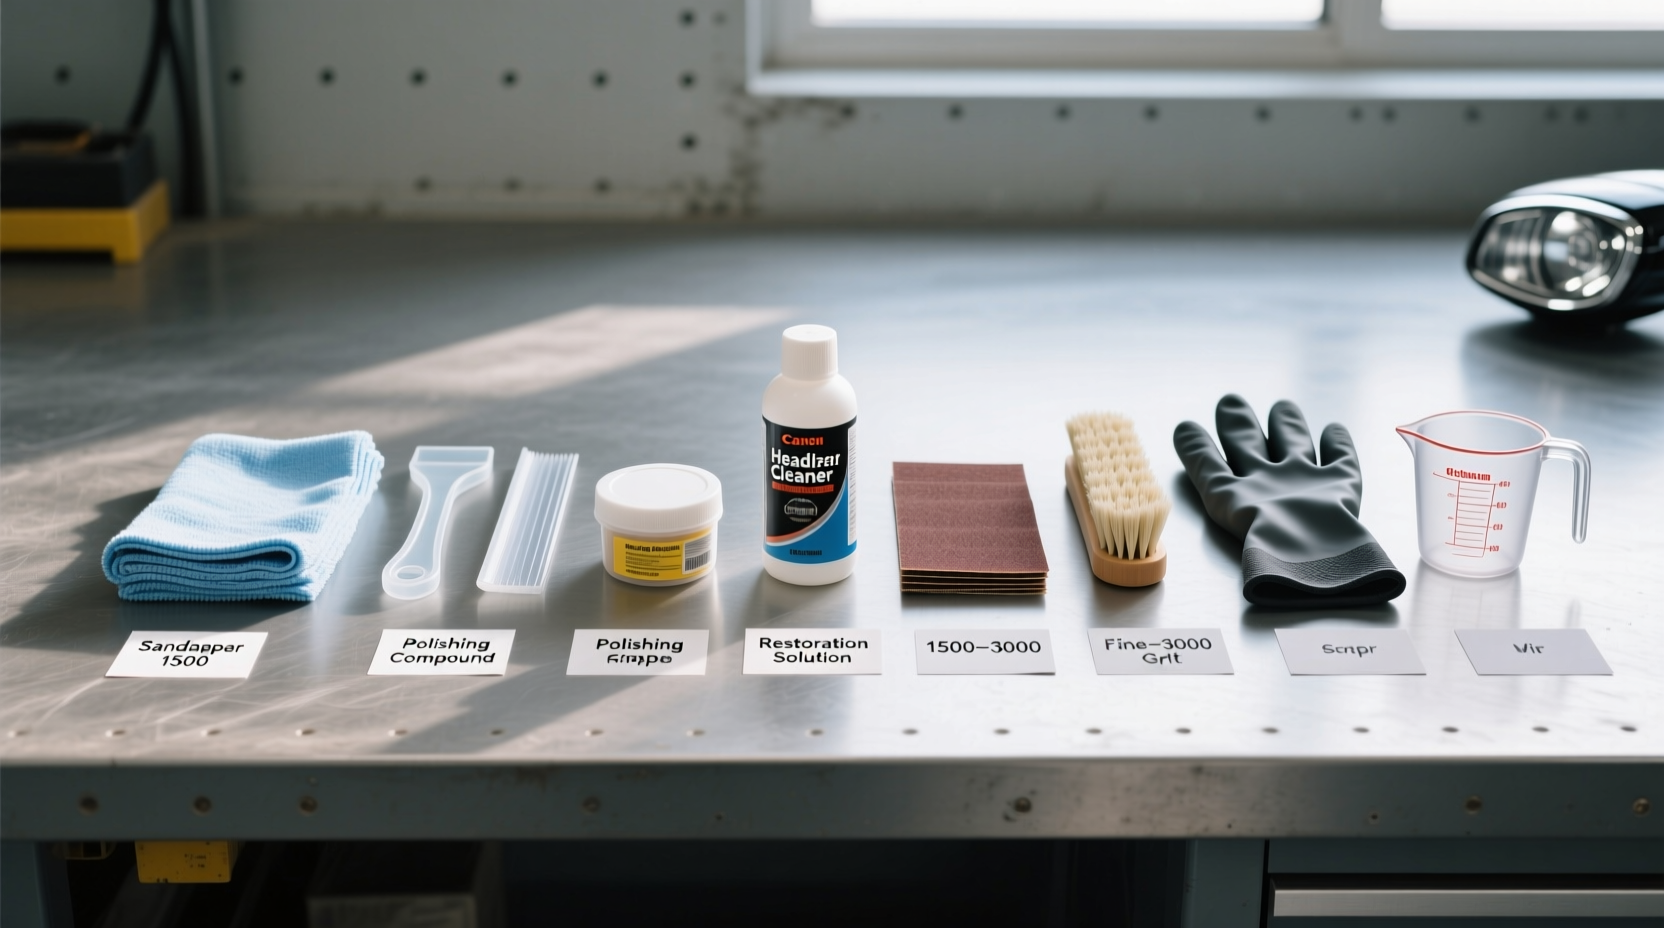
Materials You'll Need
- Mild abrasive (toothpaste with baking soda or non-gel formula)
- Microfiber cloths (2-3)
- Masking tape
- Plastic scraper or razor blade
- UV-protective sealant (critical for lasting results)
- Safety glasses and gloves
Safety First: Critical Precautions
Working with headlights requires attention to safety details many tutorials overlook:
- Always work in shade — direct sunlight accelerates oxidation during the process
- Wear eye protection — plastic particles can become airborne
- Cover adjacent surfaces — use masking tape on paint near headlights to prevent accidental scratches
- Avoid harsh chemicals — acetone or strong solvents can damage surrounding components
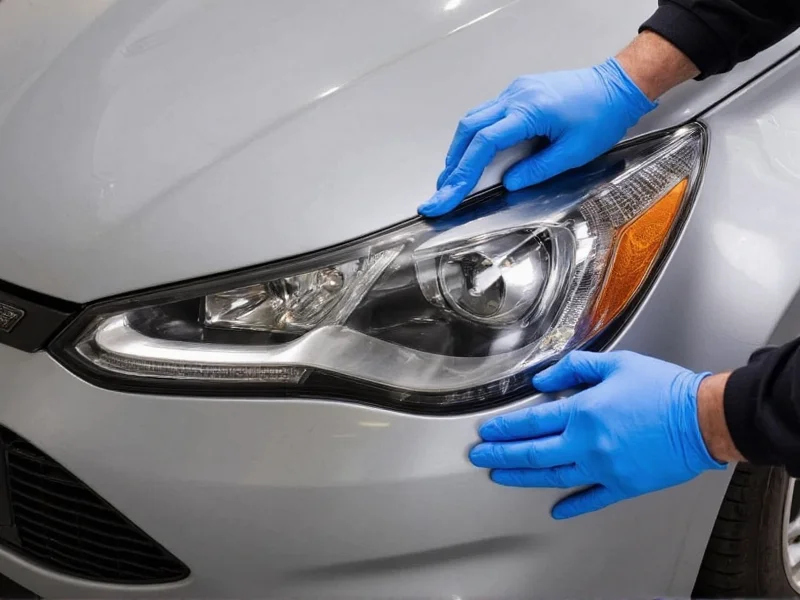
The 5-Phase Restoration Process
- Preparation (10 minutes)
- Clean headlights thoroughly with soap and water
- Tape off surrounding paint with masking tape
- Remove any loose debris with plastic scraper
- Initial Abrasion (15 minutes)
- Apply toothpaste generously to headlight surface
- Scrub in circular motions with microfiber cloth for 5 minutes
- Wipe clean and assess improvement
- Deep Cleaning (Optional for severe oxidation)
- Mix 3 parts baking soda with 1 part water to form paste
- Apply with soft toothbrush using firm pressure
- Focus on stubborn areas with back-and-forth motion
- Rinsing and Drying (5 minutes)
- Wash thoroughly with clean water
- Dry completely with clean microfiber cloth
- Allow 10 minutes for complete evaporation
- UV Protection (The Critical Step Most Skip)
- Apply automotive-grade UV sealant with included applicator
- Allow 15 minutes drying time between coats
- Apply 2-3 thin coats for maximum protection
Troubleshooting Common DIY Headlight Cleaning Issues
Why Your Results Didn't Last
Most DIY headlight cleaning fails within weeks because people skip the UV protection step. Polycarbonate plastic continues oxidizing immediately after cleaning unless properly sealed. Without sealant, you're essentially starting the degradation process anew.
Fixing Uneven Results
If you notice streaks or inconsistent clarity:
- Reapply abrasive compound only to problem areas
- Use finer grit (higher number) sandpaper for touch-ups
- Ensure complete drying before final sealant application
Maintenance Tips for Long-Lasting Results
Extend your restoration results with these professional maintenance practices:
- Wash monthly — use automotive soap, not household cleaners which can strip protection
- Apply wax quarterly — use ceramic-infused automotive wax for added UV resistance
- Check sealant annually — reapply if water no longer beads on surface
- Avoid automatic car washes — harsh brushes accelerate oxidation
When DIY Isn't Enough: Knowing Your Limits
While DIY methods work for most oxidation cases, certain situations require professional attention:
- Deep cracks penetrating beyond surface layer
- Moisture inside the headlight assembly
- Previous failed restoration attempts with improper sealants
- Headlights with existing protective coatings that have been compromised
Attempting DIY fixes on these issues often causes more damage. In these cases, professional lens replacement or factory-grade restoration provides better long-term value.
How often should I clean my headlights using DIY methods?
For most vehicles in average conditions, DIY cleaning every 6-12 months maintains optimal visibility. Vehicles in sunny climates or frequently driven on salty roads may need cleaning every 3-4 months. Always apply UV sealant after each cleaning to maximize time between treatments.
Can I use regular household toothpaste for headlight restoration?
Yes, but choose non-gel formulas containing mild abrasives like calcium carbonate. Avoid whitening toothpastes with harsh abrasives that can scratch plastic. Standard mint toothpaste works best for light oxidation, while baking soda-enhanced formulas handle moderate cloudiness.
Why do my headlights yellow again so quickly after cleaning?
Rapid re-yellowing occurs when the critical UV protection step is skipped. Cleaned polycarbonate immediately begins oxidizing again when exposed to sunlight. Applying 2-3 coats of automotive UV sealant creates a protective barrier that typically extends results to 6-12 months.
Is vinegar safe for cleaning plastic headlights?
Vinegar works for initial cleaning but requires careful application. Dilute with equal parts water, apply with cloth (not directly sprayed), and rinse thoroughly within 5 minutes. Never use undiluted vinegar or leave it sitting, as the acidity can damage unprotected plastic over time.
Can I prevent headlight oxidation without cleaning?
Yes, proactive protection extends headlight life significantly. Apply ceramic coating every 6 months, park in shade when possible, and wash headlights with automotive soap during regular car washes. These preventive measures can delay the first needed restoration by 2-3 years compared to unprotected headlights.


 浙公网安备
33010002000092号
浙公网安备
33010002000092号 浙B2-20120091-4