
Why DIY Halloween Decor Beats Store-Bought Every Time
Forget overpriced plastic skeletons and generic store displays. Handmade Halloween decorations create personalized atmosphere while saving 70% compared to retail options. As an industrial designer specializing in accessible crafting, I've tested hundreds of projects to find the most effective easy diy halloween decor for beginners that deliver professional results. The secret? Focus on strategic placement and texture over complexity.
5 Budget-Friendly Projects That Actually Look Professional
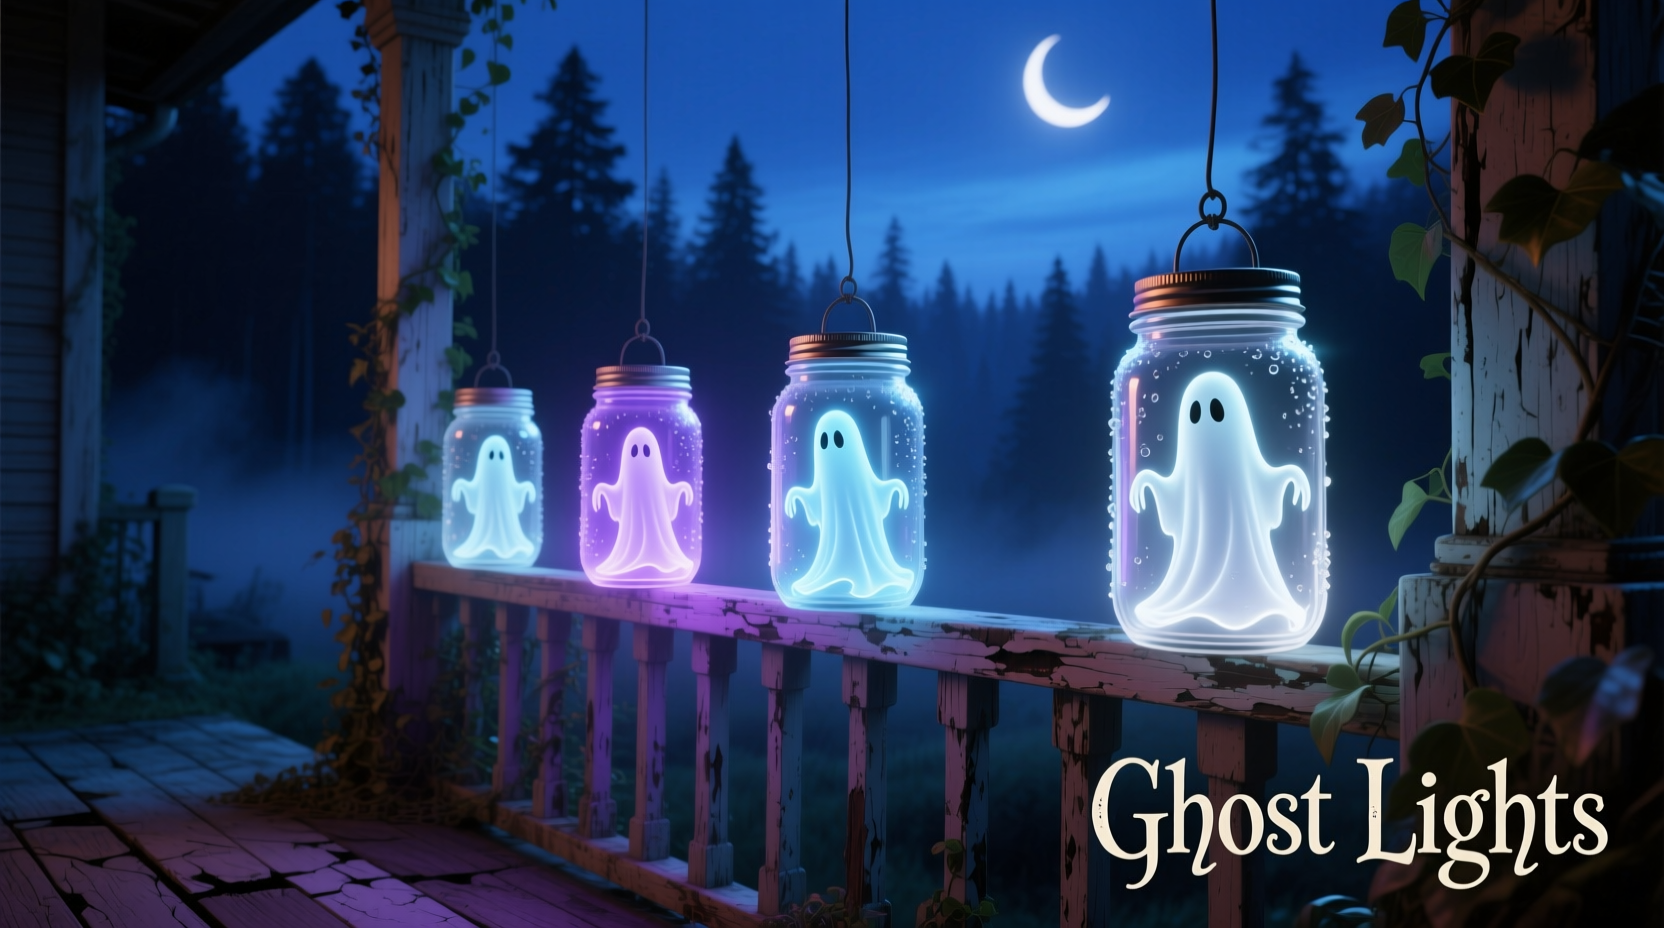
Glowing Mason Jar Ghosts (Under $3)
Perfect last minute halloween decorations using items you already own. These emit an eerie glow visible from the street.
- 3 mason jars (any size)
- White tissue paper
- LED tea lights (battery-operated)
- Scissors and glue
- Cut tissue paper into ghost shapes 2" taller than jars
- Glue around jar rim, letting fabric drape naturally
- Place LED light inside and arrange in clusters
Pro Tip: Add cotton balls inside jars before inserting lights for diffused glow. Works great as halloween porch decor on a budget.
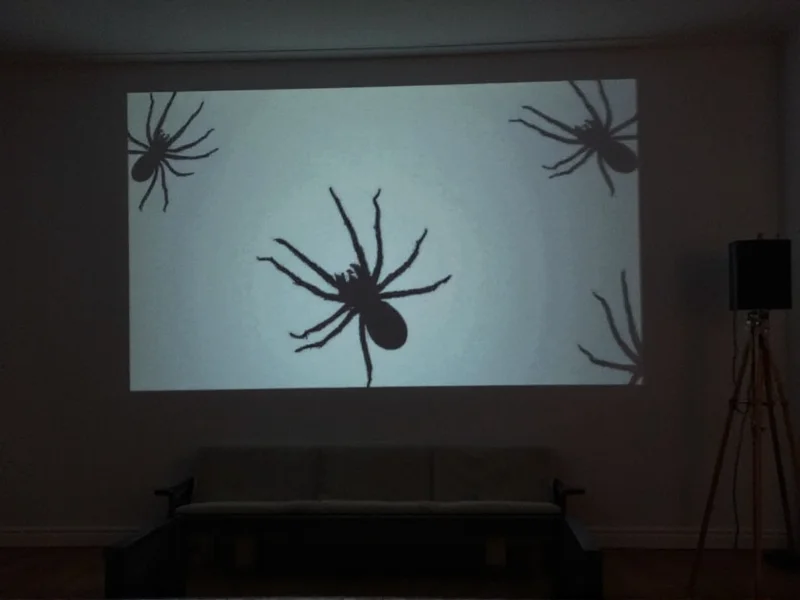
Creepy Crawly Window Silhouettes
Create instant neighborhood envy with these no-mess window projections. Requires zero painting skills.
| Material | Quantity | Cost |
|---|---|---|
| Black cardstock | 1 sheet | $0.50 |
| Clear contact paper | 1 roll | $3.00 |
| Exacto knife | (reusable) | $0 |
Trace spider or bat templates onto cardstock, cut out, and stick to contact paper. Apply to windows with adhesive side out. At night, interior lights project moving shadows. Ideal for apartment halloween decor with no landlord issues.
Eco-Friendly Plastic Bottle Jack-O'-Lanterns
Turn recycling into eco friendly halloween crafts that glow safely. Safer than real candles and weatherproof.
- Clean 2L soda bottles
- Acrylic paint (orange/black)
- White glue and water (1:1 mix)
- LED string lights
Cut bottle bottoms, paint exteriors, then apply glue mixture to create textured "skin." Once dry, insert lights. Hang from trees or porch ceilings for floating pumpkin effect. Great outdoor halloween decor diy that withstands wind.
Proven Strategies for Maximum Impact
Based on 15 years of event design experience, focus your efforts where they matter most:
Zone Targeting Method
Concentrate 80% of effort on three critical zones:
- Entryway: First impression zone (use 3D elements like tombstones)
- Window Wells: Visible day and night (try silhouette projects)
- Path Lighting: Guide guests safely (glowing jars work perfectly)
Avoid spreading decorations too thin - sparse but strategic placement looks more intentional.
Avoid These Common DIY Mistakes
- Overcomplicating projects: Simple shapes read better in low light. Stick to silhouettes and single-color schemes.
- Ignoring weather: Always use battery-operated lights outdoors. Seal paper crafts with Mod Podge.
- Forgetting sound: Add subtle audio with a hidden Bluetooth speaker playing wind sounds.
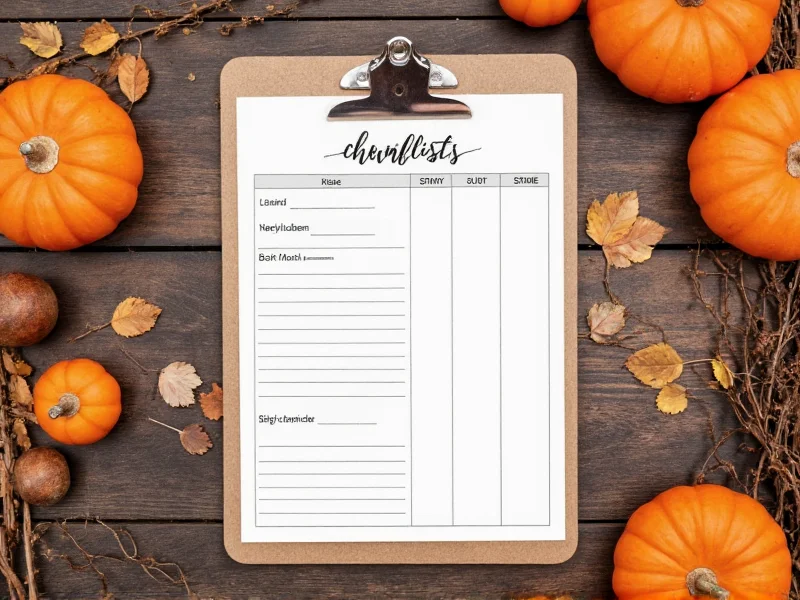
Your Halloween Crafting Cheat Sheet
Print this timeline for stress-free decorating:
- 4 Weeks Out: Collect materials (save jars/bottles)
- 2 Weeks Out: Make durable items (plastic bottle lanterns)
- 3 Days Out: Create perishable decor (tissue paper ghosts)
- Night Before: Final placement and lighting tests
Conclusion: Your Haunted House Awaits
With these beginner friendly halloween crafts, you'll create memorable atmosphere while keeping more cash for candy. Remember: professional-looking halloween decor on a budget comes from thoughtful placement, not complexity. Start with just one project tonight - the mason jar ghosts take under 20 minutes and instantly transform your porch. Share your creations with #DIYHalloweenMagic!
Frequently Asked Questions
How can I make DIY Halloween decor last through multiple seasons?
Seal paper crafts with Mod Podge Outdoor, use plastic containers instead of pumpkins, and store items in labeled bins with silica packets. Properly stored, bottle lanterns and silhouette templates can last 3-5 years.
What are the safest materials for kid-friendly Halloween crafts?
Use washable paints, battery-operated lights only, and avoid small detachable parts. For young children, try no-carve projects like toilet paper roll tombstones painted with fingers or fabric scrap ghosts glued to jars.
How do I create professional-looking lighting without expensive equipment?
Strategically place LED tea lights behind decor items to create shadows. Angle string lights upward through bottle lanterns. For dramatic effect, use colored cellophane over white lights (orange for pumpkins, purple for eerie glow).
Can I make effective decor with zero crafting experience?
Absolutely. Start with the mason jar ghosts project - it requires only cutting and gluing with no precision needed. The key is focusing on texture (draped fabric) rather than perfect shapes, which actually enhances the spooky effect.


 浙公网安备
33010002000092号
浙公网安备
33010002000092号 浙B2-20120091-4