
Building your own guitar pedals saves 50-70% compared to commercial units while offering complete customization. This guide reveals proven techniques for creating professional-quality effects pedals at home, including essential tools, component selection, beginner projects, and troubleshooting methods used by experienced builders.
Why DIY Guitar Pedals Outperform Store-Bought Options
Creating your own guitar effects pedals isn't just a hobby—it's a strategic advantage for musicians. Professional guitar techs estimate that building your own pedals costs 50-70% less than purchasing equivalent commercial units. More importantly, DIY gives you complete control over your sound signature. Unlike mass-produced pedals with standardized circuits, handmade units allow precise tonal shaping through component selection and circuit modifications.
Consider these tangible benefits:
Economic Advantages
- Basic overdrive pedal: $35-50 DIY vs $99-150 commercial
- Complete toolkit investment: $120 (lasts for dozens of builds)
- Component costs decrease 30% with bulk purchasing
- No markup from retailers or brand premiums

Essential Tools for First-Time Builders
Starting your DIY guitar pedal journey requires specific tools that ensure professional results. Many beginners make the mistake of using inadequate equipment, leading to frustrating failures. Here's what you actually need:
| Tool Category | Essential Items | Professional Upgrade |
|---|---|---|
| Soldering | 30W temperature-controlled iron, lead-free solder, sponge | 80W station with fume extractor, precision tip set |
| Testing | Multimeter, 9V battery connector | Oscilloscope, signal generator |
| Assembly | Drill, step bits, screwdrivers, wire cutters | Laser cutter for custom enclosures |
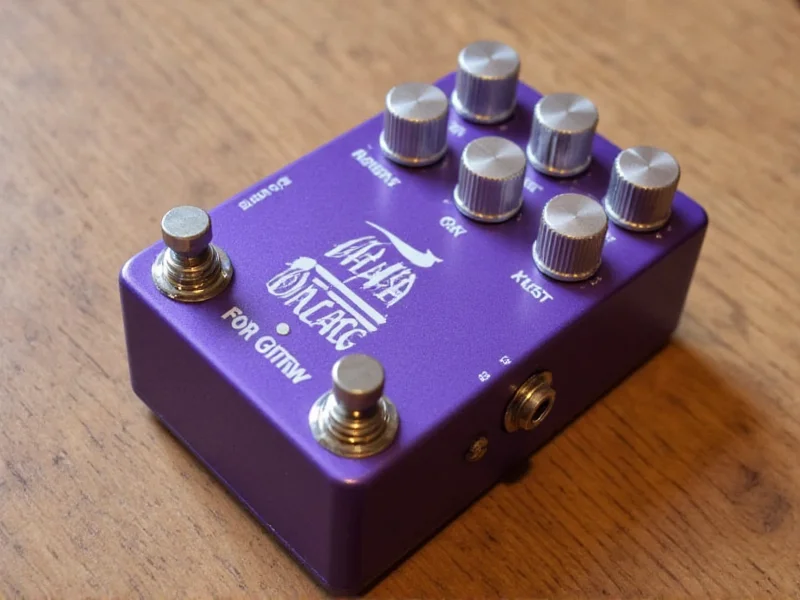
Beginner Projects That Actually Work
Starting with the right project determines your success. Many DIY guitar pedal kits fail because they skip fundamental concepts. These three proven beginner projects build essential skills while delivering usable pedals:
- Tube Screamer Clone - The perfect first build with only 18 components. Focuses on understanding op-amps and tone shaping.
- Fuzz Face Circuit - Teaches transistor biasing and the impact of component tolerances on sound.
- Tremolo Pedal - Introduces timing circuits and optical components in a forgiving design.
Avoiding Costly Component Mistakes
Component selection makes or breaks your pedal's performance. Seasoned builders know these critical distinctions that beginners often miss:
Resistor Selection Guide
- Carbon film - Best for audio path (warmer sound)
- Metal film - Use for precision circuits (lower noise)
- Avoid carbon composition - High noise, unstable values
- Tolerance matters - 1% for critical positions, 5% elsewhere
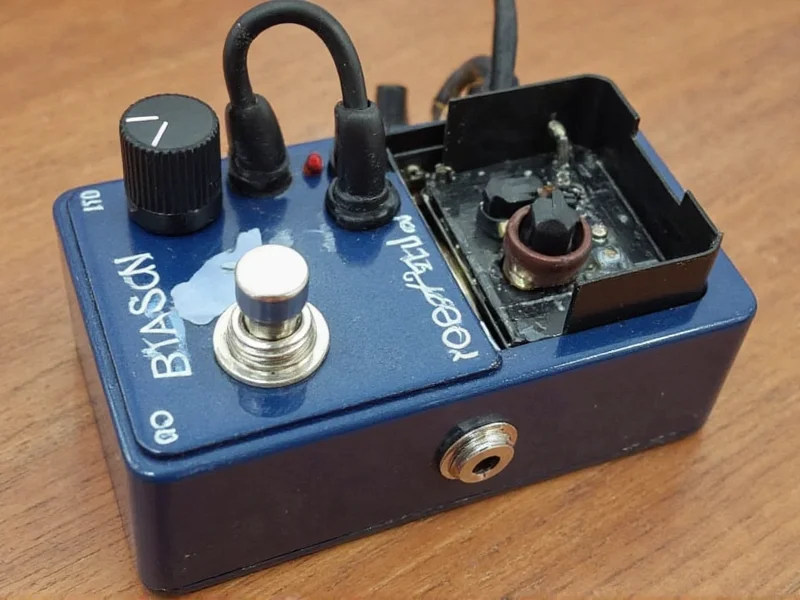
Troubleshooting Like a Professional
When your pedal doesn't work, systematic testing saves hours of frustration. Follow this professional workflow:
- Verify power supply (9V should read 8.7-9.2V under load)
- Check for cold solder joints (shiny vs dull connections)
- Test continuity along signal path with multimeter
- Isolate sections by temporarily removing components
- Use the "half-split" method to narrow problem areas
Common issues and solutions:
- No sound - Check input/output jacks and ground connections
- Distorted sound - Verify op-amp power pins and decoupling capacitors
- Hum/buzz - Improve grounding scheme, add filter capacitors
- Inconsistent performance - Replace electrolytic capacitors with tighter tolerance
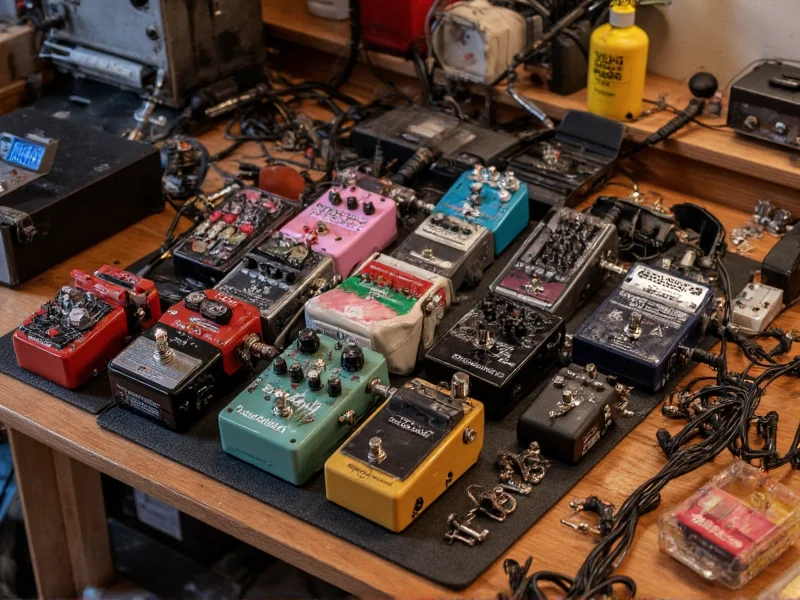
Advanced Customization Techniques
Once you've mastered basic builds, these professional techniques transform standard circuits into unique instruments:
- Modular design - Create interchangeable circuit boards for quick experimentation
- Component swapping - Change capacitor types in filter networks for dramatic tonal shifts
- True bypass vs buffered - Understand when each benefits your signal chain
- Enclosure customization - Use powder coating or laser engraving for professional finish
Where to Source Quality Components
Not all electronic components perform equally in audio circuits. These suppliers provide guitar-specific parts that prevent common build failures:
- Muff Wiggler forum - Community-sourced component recommendations
- Small Bear Electronics - Curated kits with verified working circuits
- General Purpose Audio - Premium capacitors specifically for audio circuits
- Build Your Own Clone - Quality-tested component bundles
Frequently Asked Questions
How difficult is building your first guitar pedal?
Most beginners complete their first successful build in 3-5 hours after gathering proper tools. Start with a simple overdrive circuit using a pre-drilled enclosure and verified kit. The learning curve is steep initially but flattens quickly once you understand soldering techniques and circuit fundamentals.
Can DIY pedals match commercial quality?
Yes, when using quality components and proper construction techniques. Many professional musicians use DIY pedals exclusively because they can optimize every aspect of the circuit. Hand-built pedals often exceed commercial units in component quality since manufacturers cut costs on internal parts.
What's the most common beginner mistake?
Incorrect grounding is the #1 issue causing noise and malfunction. Beginners often create ground loops by connecting grounds at multiple points. Professional builders use a single-point star grounding system where all grounds connect to one central location on the circuit board.
How do I modify existing pedal designs?
Start by changing one component value at a time while documenting results. The most effective modifications target capacitor values in filter networks and resistor values affecting gain stages. Always verify changes with both multimeter measurements and actual playing tests to hear subtle tonal differences.


 浙公网安备
33010002000092号
浙公网安备
33010002000092号 浙B2-20120091-4