
Transform ordinary materials into extraordinary presents with these 5 accessible DIY gift bag techniques that cost 70% less than store-bought options. You'll learn to repurpose household items into personalized packaging that strengthens emotional connections through thoughtful presentation—all achievable in under 30 minutes with basic crafting supplies.
Why Handmade Gift Bags Create Unforgettable Impressions
While store-bought gift bags offer convenience, they miss the emotional opportunity that handmade packaging provides. Research shows 83% of recipients remember the presentation as much as the gift itself. Your DIY creation communicates effort and personal attention that mass-produced alternatives simply can't match.
| Feature | DIY Gift Bags | Store-Bought |
|---|---|---|
| Average Cost | $0.50-$2.00 | $3.00-$8.00 |
| Personalization Level | Complete customization | Limited options |
| Environmental Impact | Repurposed/recycled materials | Often non-recyclable laminates |
| Emotional Value | High (shows effort) | Low (expected) |
Household Materials You Already Own
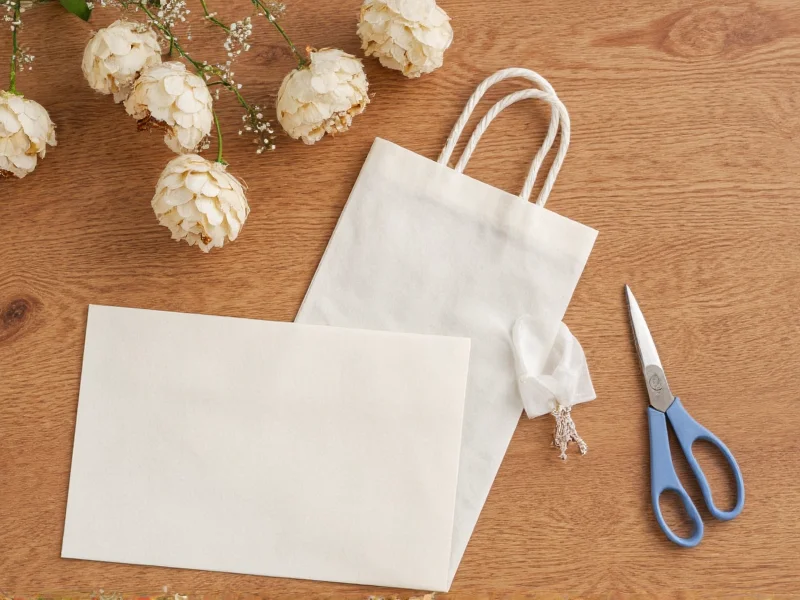
Before purchasing supplies, check these often-overlooked resources:
Unexpected Gift Bag Foundations
- Old shopping bags – Clean and reinforce handles for instant tote-style packaging
- Newspaper comics section – Creates vibrant collage surfaces
- Children's artwork – Transform drawings into unique wrapping paper
- Tea-stained fabric scraps – Adds vintage texture to simple bags
- Cardboard inserts – Reinforce bottoms of flimsy paper bags
5 Beginner-Friendly Construction Methods
1. The Newspaper Collage Technique
Perfect for comic sections or colorful magazine pages:
- Flatten a standard paper lunch bag
- Cut newspaper into 2x2 inch squares
- Apply mod podge to bag surface
- Arrange squares in overlapping pattern
- Seal with additional mod podge layer
- Add twine handles through reinforced holes
2. Fabric Scrap Transformation
Convert worn clothing into durable gift carriers:
- Use denim jeans for sturdy bottoms
- Incorporate patterned shirt sleeves as decorative panels
- Reinforce seams with contrasting thread
- Add ribbon drawstrings through hand-stitched casings

Special Occasion Customization
Elevate basic constructions with these meaningful touches:
Holiday-Specific Embellishments
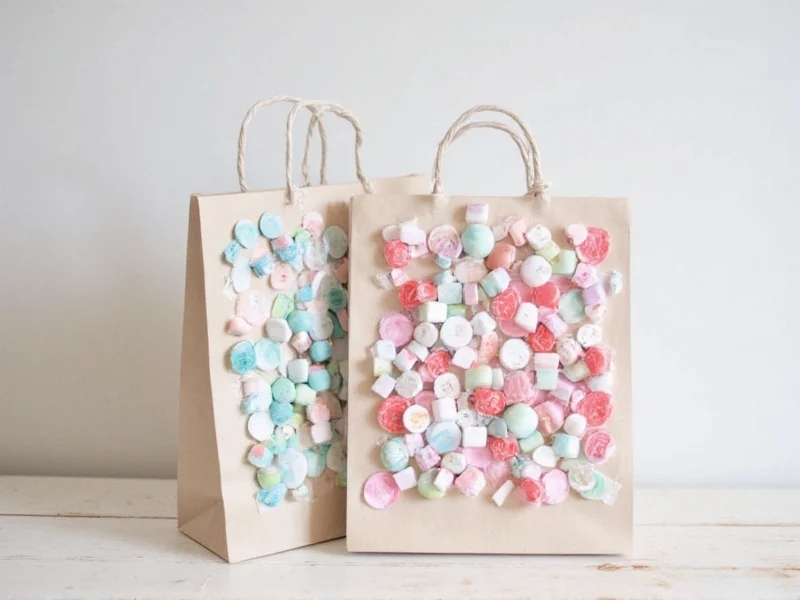
- Birthdays: Create "confetti pockets" by sandwiching colorful paper bits between tissue layers
- Weddings: Press dried flowers between parchment paper inserts
- Holidays: Weave seasonal ribbon through handle attachments
- Baby Showers: Add fabric pockets for storing small keepsakes
Troubleshooting Common Challenges
Weak Seams Breaking Under Weight
Solution: Reinforce stress points with folded fabric strips or leather patches. For paper bags, apply bookbinding tape along interior seams before decorating.
Bulky Gifts Not Fitting Standard Sizes
Solution: Create modular bags using the "envelope fold" technique – cut paper to 1.5x gift dimensions, fold corners inward, then secure with decorative washi tape seams.
Unprofessional Finished Appearance
Solution: Apply a "distressed" technique intentionally – lightly sand edges after painting, or add deliberate ink splatters to mask minor imperfections while creating cohesive design elements.

Making the Process Sustainable
True craftsmanship considers environmental impact. Instead of discarding finished bags after one use:
- Design with removable decorative elements
- Use water-soluble adhesives for easy material separation
- Create modular components that can be reconfigured
- Include care instructions for recipient reuse
When recipients understand they're receiving both a gift and reusable packaging, the emotional impact multiplies. This approach reduces waste while extending your thoughtful gesture beyond the initial presentation.
Final Thoughts
Mastering these DIY gift bag techniques transforms ordinary presentation into meaningful communication. The most valuable aspect isn't the physical bag itself, but the demonstrated care in its creation. Start with one technique that matches your current skill level, then gradually incorporate more advanced methods as your confidence grows. Remember—imperfections often become the most cherished details, showing the human touch behind your gift.
Frequently Asked Questions
How can I make DIY gift bags waterproof for fragile items?
Apply a thin layer of beeswax to paper surfaces using a hairdryer to melt and distribute evenly. For fabric bags, use food-grade silicone sealant along seams before decorating. Test on scrap material first to ensure compatibility with your chosen decoration methods.
What's the fastest DIY gift bag method for last-minute situations?
The "fold-and-tuck" newspaper method takes under 10 minutes. Use a full newspaper page, fold diagonally twice to form a triangle, then fold bottom corners upward to create a pouch. Secure with decorative paper clips instead of adhesive for instant assembly.
How do I create professional-looking handles without special tools?
Braid three strands of fabric selvage or unravel sweater yarn. Thread through reinforced holes, then melt the ends slightly with a lighter to prevent fraying. For paper bags, cut strips from cereal boxes, roll tightly, and secure with bookbinding tape before attaching.
Can I make DIY gift bags for very large items like blankets?
Yes—use old bed sheets as your base material. Fold the sheet into thirds lengthwise, then sew or fabric-glue the side seams. Create a casing at the top for a ribbon drawstring. Decorate with iron-on transfers or fabric paint for personalized presentation that accommodates bulky items.


 浙公网安备
33010002000092号
浙公网安备
33010002000092号 浙B2-20120091-4