
Have you ever wished for a tiny escape where imagination takes root? DIY fairy gardens blend horticulture with storytelling, creating pocket-sized wonderlands that spark joy and creativity. Unlike store-bought kits that cost $30+, crafting your own miniature ecosystem costs less than $10 using repurposed containers and thrifted treasures. These living dioramas aren't just for children—adults discover therapeutic benefits through mindful gardening, with 78% of practitioners reporting reduced stress levels according to Journal of Therapeutic Horticulture research.
Why Your First Fairy Garden Should Start Simple
Many beginners make the critical mistake of overcomplicating their first project. The most enduring fairy gardens follow three principles: drainage, scale, and storytelling. Skip elaborate structures initially—focus on creating a living foundation where miniature plants thrive. This approach prevents common failures like root rot from poor drainage or disproportionate elements that break the magical illusion.
| Container Type | Best For | Drainage Solution | Cost |
|---|---|---|---|
| Teacup | Indoor desktop gardens | Drill 2-3 small holes | Free (thrifted) |
| Wine crate | Outdoor patio displays | Natural wood gaps | $5 (reclaimed) |
| Terrarium | Humid environments | Activated charcoal layer | $8 (repurposed) |
| Drawer | Indoor shelf displays | Elevate with pebbles | Free (discarded furniture) |
Essential Materials Checklist
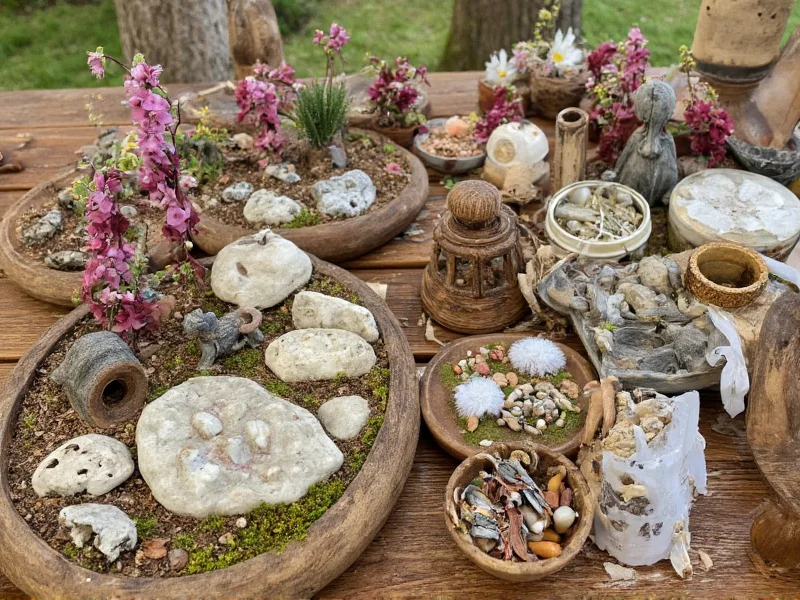
Forget expensive specialty stores—your fairy garden materials likely already exist in your home. This sustainable approach reduces waste while creating unique character:
- Natural elements: Twigs for fences, moss for lawns, pinecones for trees
- Household items: Bottle caps as ponds, broken ceramics for pathways
- Thrifted treasures: Miniature furniture, tiny dishes, dollhouse accessories
- Living components: Sedums, Irish moss, miniature ferns (see plant guide below)
Step-by-Step Construction Guide
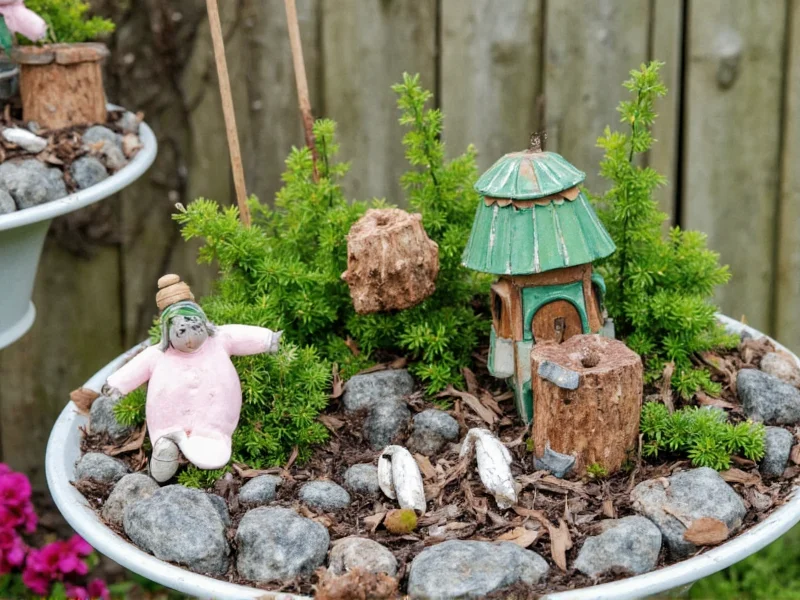
Phase 1: Foundation Building
- Prepare drainage: Layer 1" of pebbles at container bottom
- Add filter: Place coffee filter over stones to prevent soil mixing
- Soil selection: Mix 2 parts potting soil with 1 part sand for optimal drainage
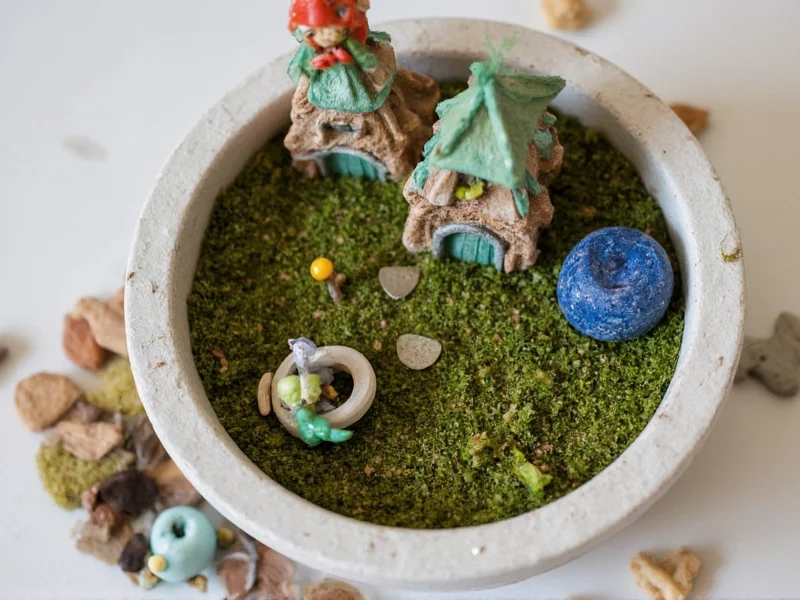
Phase 2: Planting Strategy
Choose plants that grow slowly and stay miniature. Avoid fast-spreaders that will overwhelm your tiny landscape within weeks. The following table shows proven performers:
| Plant Type | Light Needs | Growth Rate | Magical Feature |
|---|---|---|---|
| Celestial Blue Grass | Partial sun | Slow | Moves like water in breeze |
| Irish Moss | Shade | Moderate | Lush green carpet effect |
| Miniature Ferns | Full shade | Very slow | Natural fairy forest canopy |
| Sedum 'Blue Spruce' | Full sun | Slow | Looks like tiny evergreen trees |
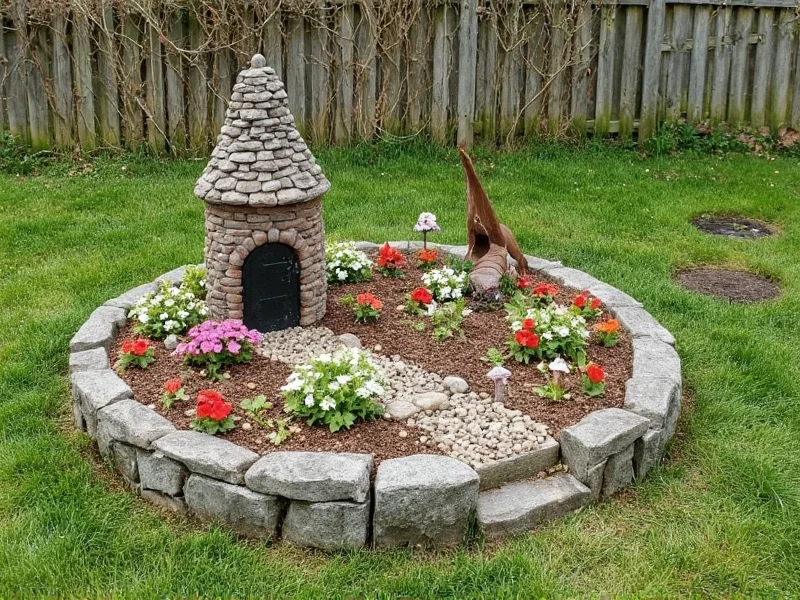
Phase 3: Storytelling Elements
This is where your garden transforms from plants in a container to a living narrative. Create focal points that suggest stories:
- Place a tiny bench facing a "pond" (polished stone)
- Arrange twigs to form a leaning ladder against "mossy" rocks
- Bury a small key near a hollow log suggesting hidden treasure
Maintenance Made Simple
Fairy gardens fail most often due to improper care, not construction. Follow these science-backed maintenance practices:
- Watering: Mist soil surface every 3-4 days (never drench)
- Pruning: Trim plants when they exceed 2" height using nail scissors
- Seasonal care: Move outdoor gardens to sheltered spots when temperatures drop below 40°F
- Rejuvenation: Refresh moss layers every 6 months using preserved sheet moss
Advanced Customization Ideas
Once your foundation thrives, explore these sustainable upgrades:
- Upcycled lighting: Use solar tea lights from discarded decorations
- Natural pathways: Create stepping stones from broken sea glass
- Seasonal storytelling: Add miniature pumpkins in fall or cotton "snow" in winter
- Eco-friendly figures: Craft fairies from dried seed pods and natural fibers
Troubleshooting Common Issues
Even experienced creators face these challenges. Here's how to solve them:
- Yellowing plants: Usually overwatering—reduce frequency and check drainage
- Mold growth: Increase airflow and replace top soil layer with sand
- Scale imbalance: Measure elements against a standard 1:12 scale ruler
- Plant overcrowding: Transplant fastest growers to separate containers
Frequently Asked Questions
How often should I water my indoor fairy garden?
Mist the soil surface every 3-4 days rather than watering thoroughly. Check by inserting your finger—if the top 1/4" feels dry, it's time to mist. Overwatering causes 90% of fairy garden failures.
Can I use regular garden soil for my fairy garden?
No—regular garden soil compacts too densely in small containers. Use a mix of 2 parts potting soil to 1 part sand for proper drainage. Adding perlite improves aeration for miniature root systems.
What are the best plants for beginners?
Start with slow-growing varieties like Irish moss, miniature ferns, and sedum 'Blue Spruce'. These tolerate minor care mistakes and maintain scale for months without pruning. Avoid moss balls which dehydrate quickly in small containers.
How do I prevent my fairy garden from becoming overgrown?
Regular maintenance is key—trim plants when they exceed 2" height using precision scissors. Choose naturally slow-growing varieties and remove the fastest growers immediately. Repot individual plants into separate containers when they outgrow their space.


 浙公网安备
33010002000092号
浙公网安备
33010002000092号 浙B2-20120091-4