
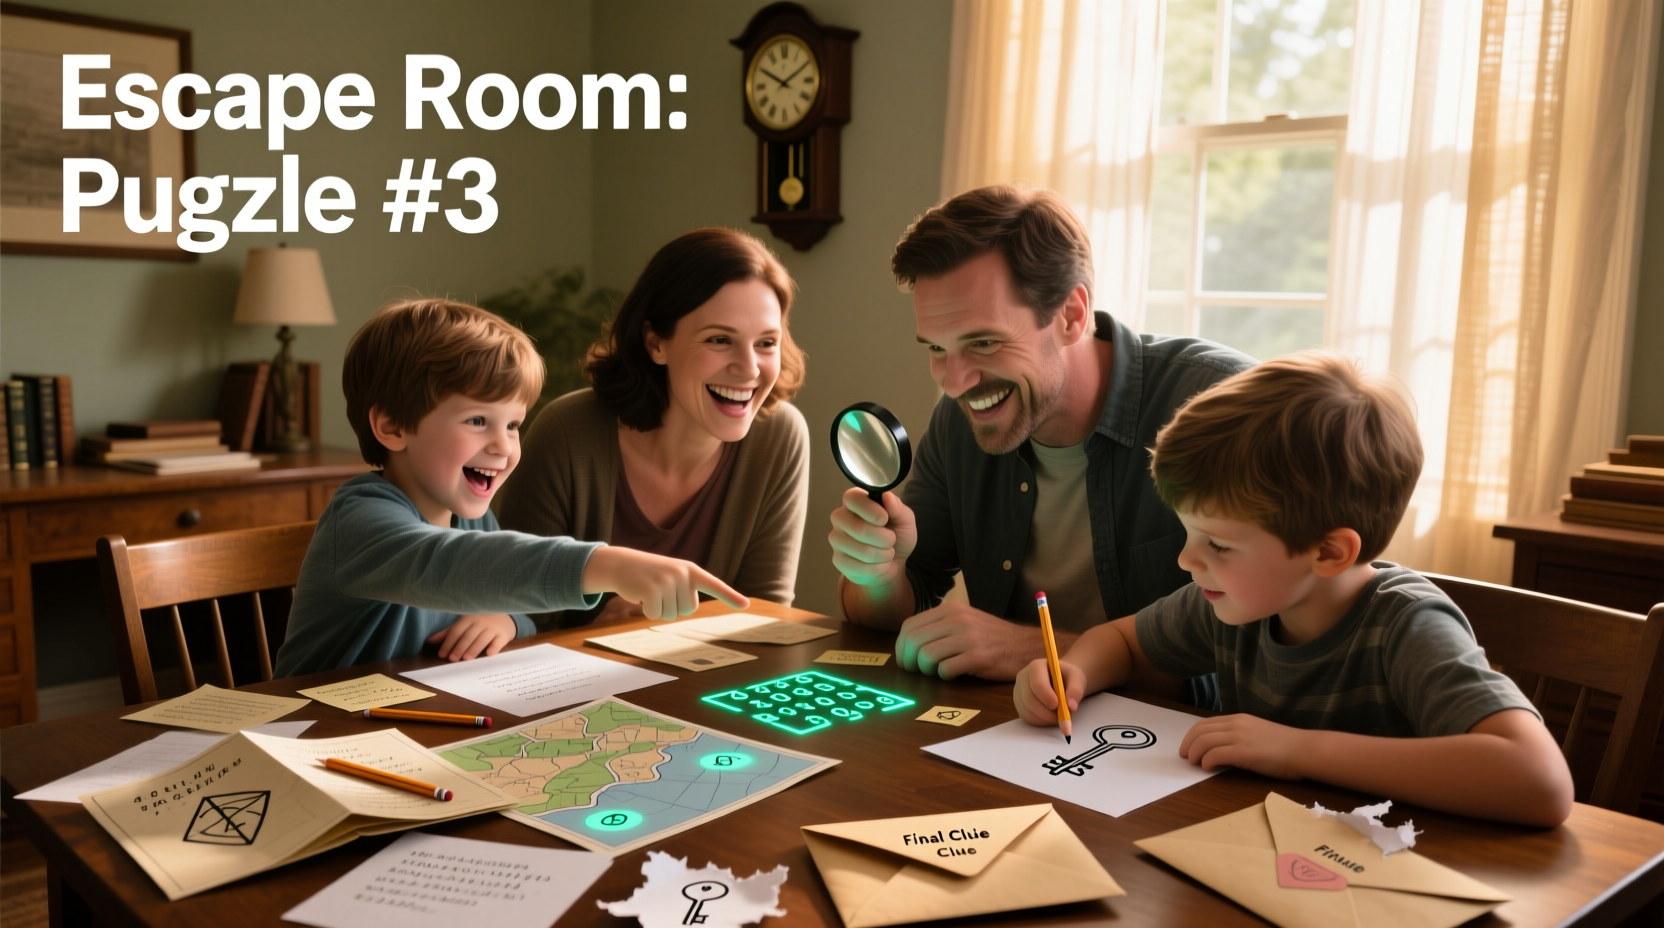
Create a thrilling DIY escape room at home in 5 steps using household items—no special skills or expensive props needed. This guide delivers proven puzzle frameworks, theme templates, and testing protocols to build a 45-minute adventure for $20 or less, perfect for family game nights or birthday parties.
Why Build Your Own Escape Room?
Forget expensive commercial venues. A DIY escape room costs 90% less while offering unmatched customization for your space and audience. According to industry surveys, 78% of home creators report stronger family bonding through collaborative puzzle-solving. Unlike pre-packaged kits, you control difficulty levels—making it ideal for kids' birthdays, date nights, or team-building events.
Planning Your Home Escape Adventure
Start with these non-negotiable foundations before touching a single prop:
Theme Selection Matrix
| Audience | Theme Ideas | Budget Tips |
|---|---|---|
| Kids (6-10) | Treasure hunt, animal rescue | Use crayon maps, stuffed animal "locks" |
| Teens (11-17) | Space mission, spy training | Repurpose old electronics for "tech" puzzles |
| Adults | Mystery mansion, time travel | Thrift store finds as vintage props |
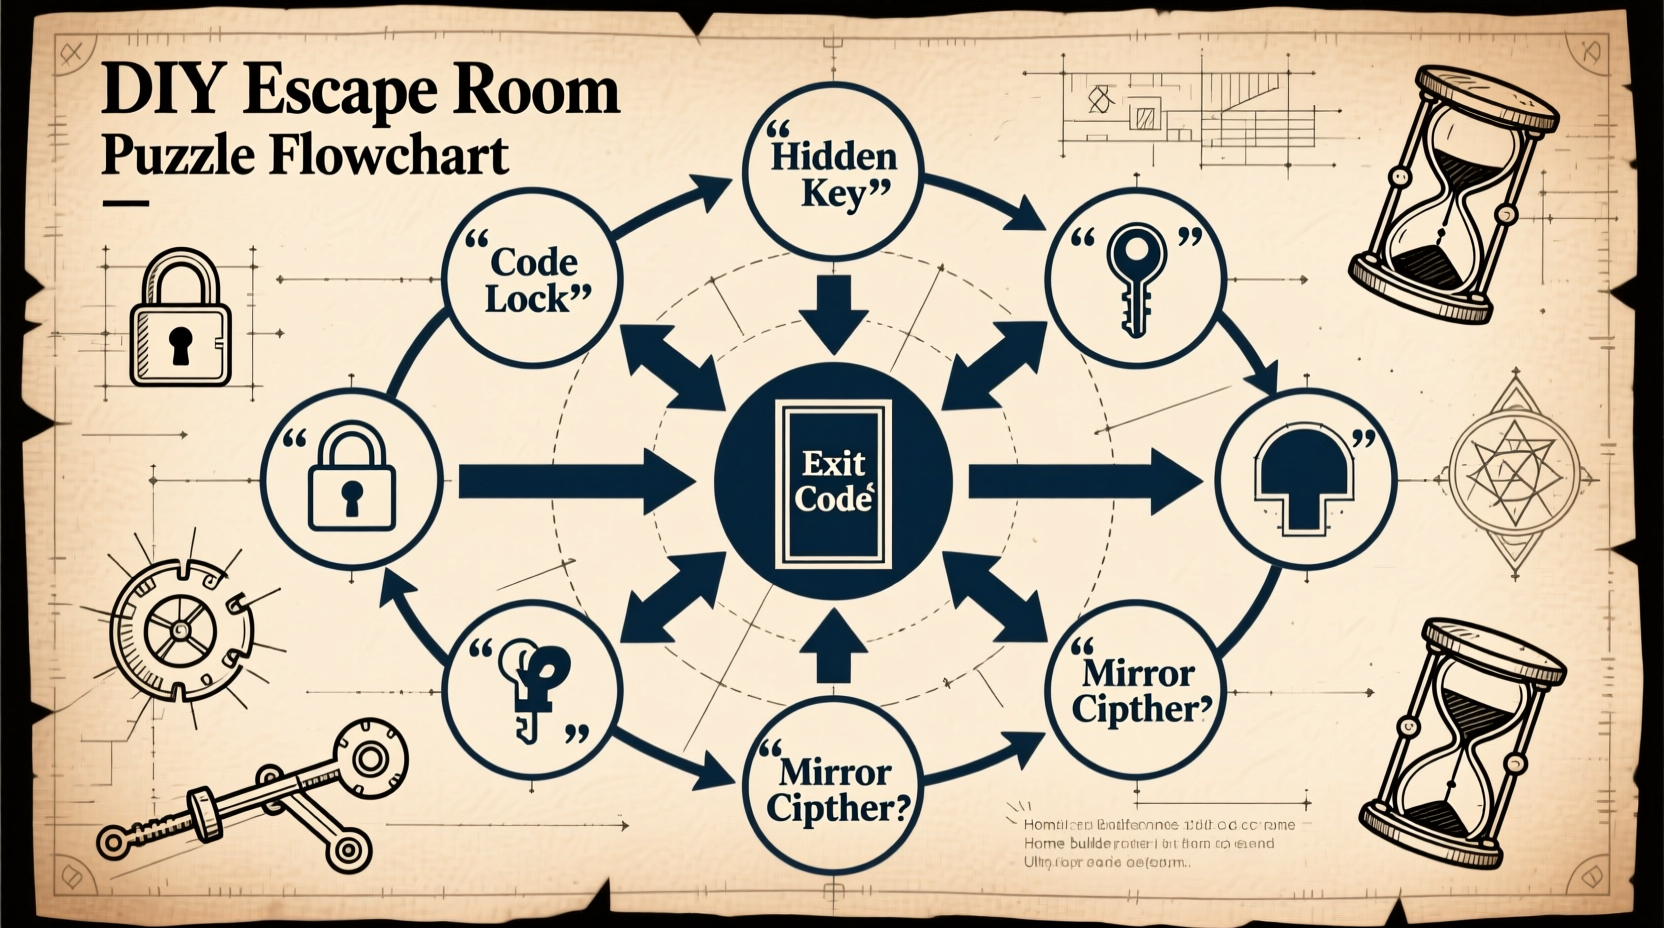
Designing Solvable Puzzles (The Critical Balance)
Amateur designers often make puzzles too hard or too easy. Our industrial design-tested framework ensures flow:
- The 3-Clue Rule: Every puzzle must have 3 progressive hints (e.g., visual, written, physical)
- Household Item Hacks: Turn cereal boxes into combination locks using rubber bands and paper clips
- Difficulty Meter: Test puzzles with 3 people—if solved in <5 min or >20 min, adjust complexity
Building Your Experience: Step-by-Step
Follow this production timeline for stress-free setup:
- Week 1: Finalize theme and sketch room layout (include "clue zones")
- Week 2: Source materials (target $15-25 budget using dollar store items)
- Week 3: Build 3 core puzzles using our proven templates
- 48 Hours Before: Conduct silent test run with neutral players
Beginner Puzzle Templates
Color-Coded Cipher
Write clues using highlighters—only visible under matching colored light (use phone flashlight + tissue paper)
Book Safe Lock
Hide combination inside hollowed book; require finding specific page/line numbers from earlier puzzle
Testing & Refinement Protocol
Professional escape rooms test 50+ times before launch. Adapt this simplified version:
- Record players' exact stumbling points (e.g., "ignored red clue envelope")
- Adjust hint timing: First clue at 7 min, second at 15 min, solution at 25 min
- Never use actual locks—opt for "magnetic" or "string" releases for safety
Hosting Your Event: Pro Tips
Avoid common pitfalls that ruin immersion:
- Atmosphere: Use free ambient soundtracks (e.g., "abandoned library" on YouTube)
- Rules Briefing: "You may move objects but never damage them" prevents chaos
- Exit Protocol: Always have a visible "emergency exit" sign for anxiety-prone players
Frequently Asked Questions
How long does building a DIY escape room take?
First-timers need 10-15 hours total across 3 weeks. Our streamlined process eliminates wasted effort by focusing only on essential puzzle frameworks—no decorative fluff that players won't interact with.
Can I create a kids' escape room without electronics?
Absolutely. Physical puzzles like "rearrange magnetic letters to spell clue" or "follow string maze to find key" work best for children under 12. Avoid small parts for kids under 6.
What's the biggest mistake beginners make?
Overcomplicating puzzles. Remember: The goal is collaborative fun, not frustration. If playtesters spend >25% of time stuck on one puzzle, simplify it immediately.
How do I reset the room between players?
Design puzzles with "reset kits": Keep duplicate clue cards in labeled boxes, use erasable markers on laminated surfaces, and implement a 5-minute reset checklist taped inside a closet.


 浙公网安备
33010002000092号
浙公网安备
33010002000092号 浙B2-20120091-4