
Wood crafting begins with three essentials: selecting appropriate reclaimed wood, using three fundamental tools (hand saw, chisel, and sandpaper), and prioritizing safety with eye protection and workspace setup. This guide delivers actionable techniques for creating functional pieces without expensive equipment, focusing on sustainable material sourcing and beginner-friendly projects that build confidence through hands-on practice.
Why Reclaimed Wood Transforms Beginner Crafting
Reclaimed wood isn't just eco-friendly—it's your secret weapon for successful first projects. Unlike new lumber, salvaged wood has natural character that hides minor imperfections, reducing beginner frustration. Construction sites, barn demolitions, and pallet recycling centers offer free or low-cost materials. Always inspect for nails and rot, but remember: knots and cracks become design features in coasters, shelves, and planters.
| Wood Type | Beginner Suitability | Best For |
|---|---|---|
| Pine (reclaimed) | ★★★★★ | Coasters, picture frames |
| Oak (reclaimed) | ★★★☆☆ | Small shelves, utensil holders |
| Pallet wood | ★★★★☆ | Wall art, planters |
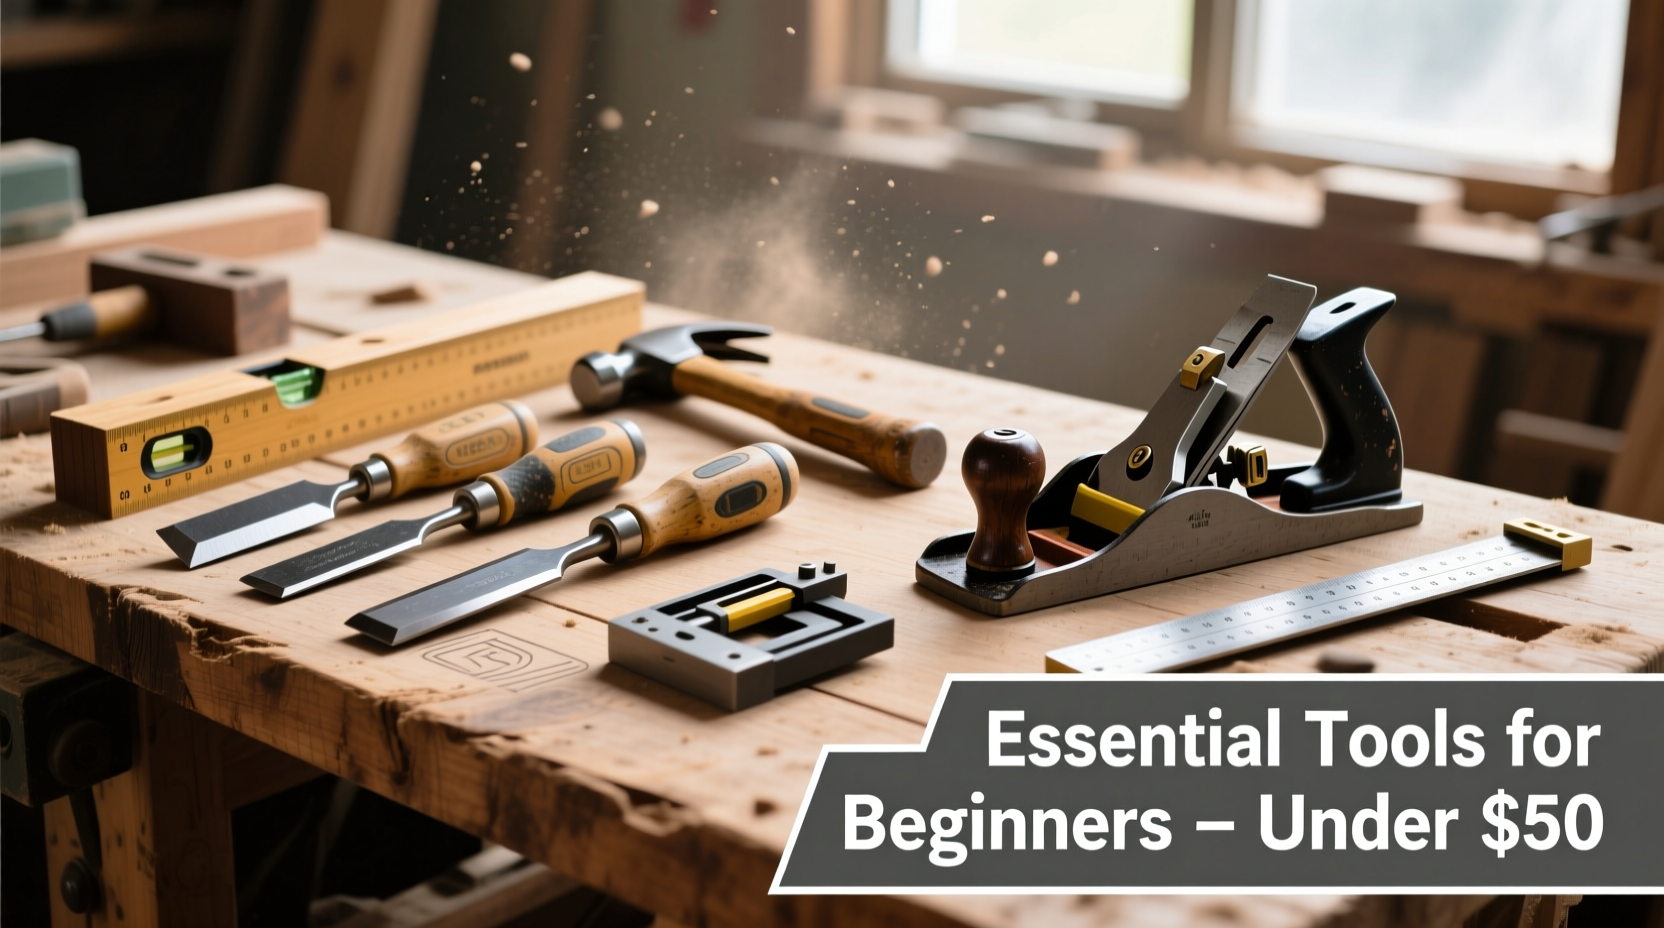
Essential Toolkit Under $50
Forget expensive machinery. These three tools create 80% of beginner projects:
- Japanese pull-saw: Cuts cleaner than Western saws with less effort ($15)
- 1" chisel set: Shapes edges and carves details ($20)
- Sandpaper assortment: 80-220 grit for smooth finishes ($10)
Safety Non-Negotiables
Wood crafting injuries usually happen in the first hour. Protect yourself with:
Workspace Setup Checklist
- Clamp wood securely—never hold pieces by hand
- Maintain 3ft clearance around work area
- Use dust mask rated for wood particles
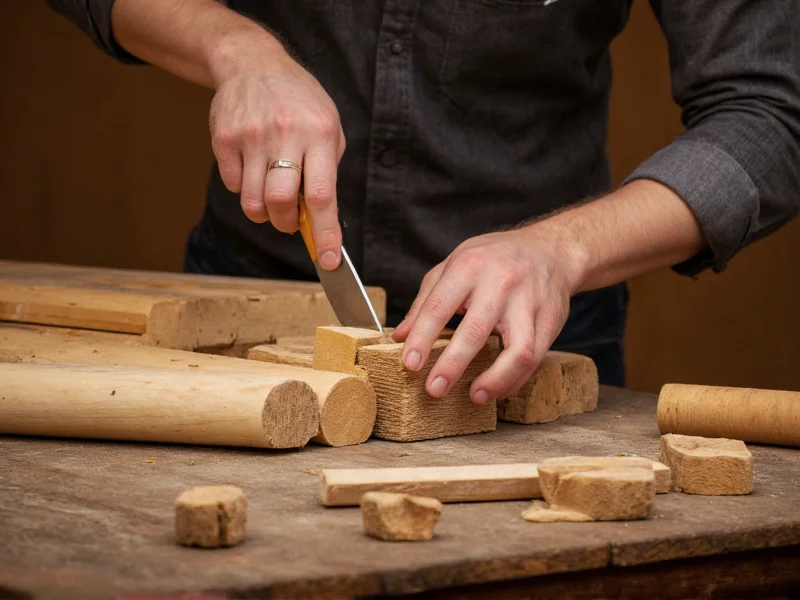
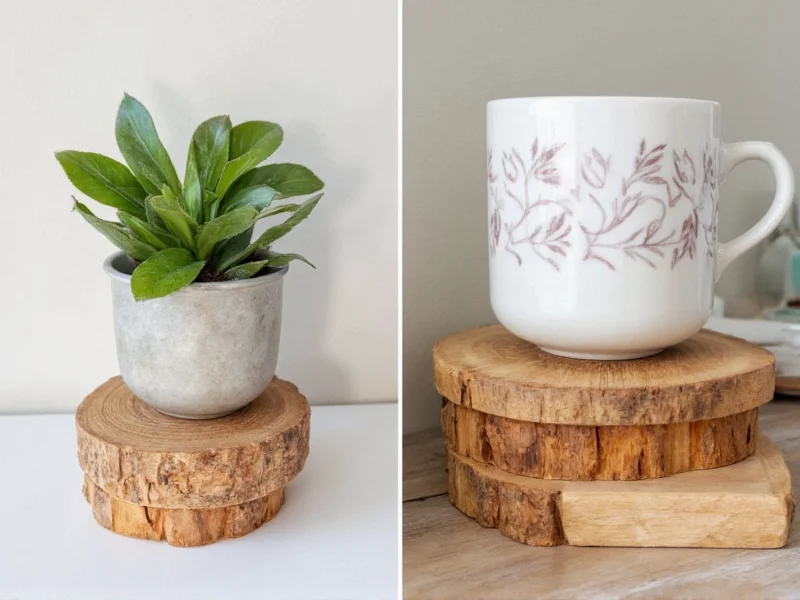
5 Starter Projects with Zero Waste
Complete these in under 3 hours using scrap wood:
- Geometric Coasters: Cut 4" squares, bevel edges with chisel, sand smooth
- Wall Hook Organizer: Carve notches into 6" plank for keys and hats
- Plant Shelf: Stack two 8" planks with corner brackets
- Utensil Holder: Glue 3" wood scraps into compartmentalized box
- Bookstand: Angle-cut two triangles to support reading material
Troubleshooting Common Issues
Fix these beginner mistakes immediately:
| Problem | Quick Fix | Prevention |
|---|---|---|
| Wood splitting | Apply wood glue to crack | Pre-drill holes near edges |
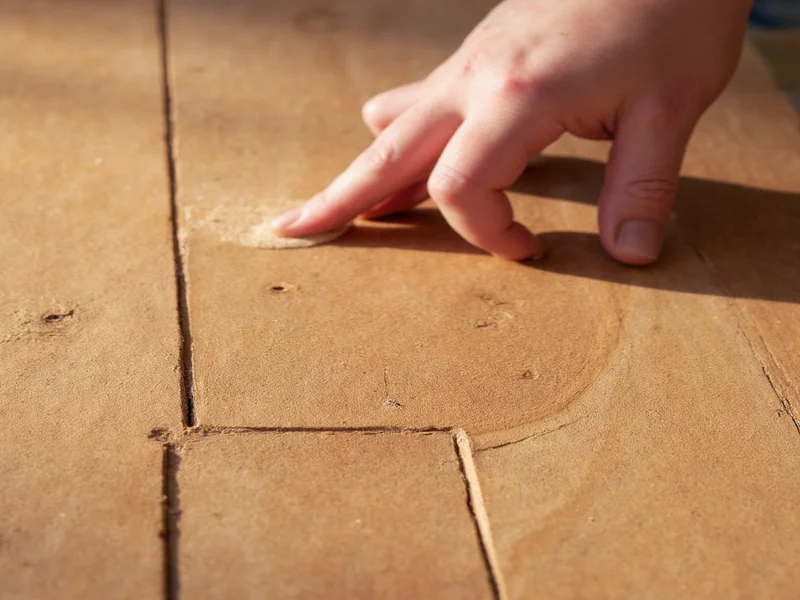
| Rough surfaces | Sand with 120 grit first | Always sand with grain direction |
| Uneven cuts | Use chisel to smooth edges | Mark cutting line with pencil |
Advanced Techniques from Day One
Professional results start with these foundational practices:
- Grain reading: Sand toward the wood's natural lines to prevent splintering
- Natural finishes: Rub with mineral oil instead of toxic varnishes
- Joinery basics: Use wood glue and clamps instead of nails for cleaner seams
Frequently Asked Questions
How do I identify safe reclaimed wood?
Avoid pressure-treated wood (green tint) and painted surfaces with lead. Look for clean, dry lumber without mold or insect damage. Test with a moisture meter—below 15% moisture content is ideal for crafting.
Can I craft without power tools?
Absolutely. Hand tools like pull-saws, chisels, and sanding blocks create precise results with less waste. Many traditional woodworkers prefer hand tools for small projects—they offer better control and require no electricity.
What's the easiest wood project for absolute beginners?
Reclaimed wood coasters. You only need to cut 4" squares, bevel the edges with a chisel, and sand smooth. This 30-minute project teaches measuring, cutting, and finishing fundamentals with immediate usable results.
How do I prevent wood from warping?
Seal all surfaces equally with mineral oil or beeswax. Store wood flat with weights on top for 48 hours before crafting. For best results, use wood that's been kiln-dried or air-dried for at least 6 months.


 浙公网安备
33010002000092号
浙公网安备
33010002000092号 浙B2-20120091-4