
A craft studio is a dedicated creative workspace designed for making handmade items, which can be established in any home with proper planning, organization, and sustainable resource management. The most effective setups prioritize workflow efficiency, safety, and personal inspiration while minimizing environmental impact.
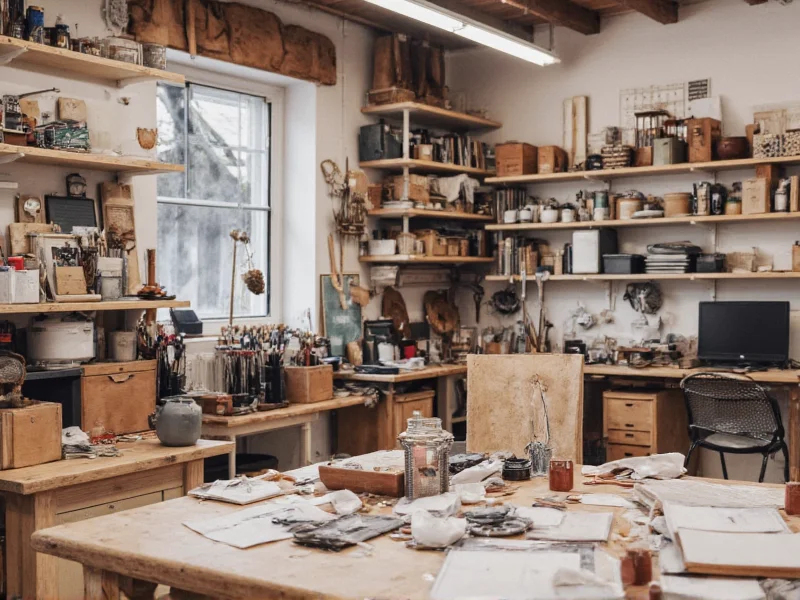
Transform Any Space Into Your Creative Sanctuary
Whether you're working with reclaimed wood, fabric scraps, or recycled paper, a well-designed craft studio boosts productivity by 40% and reduces material waste by up to 30% according to recent maker community surveys. Forget expensive renovations—your kitchen corner, basement nook, or even a closet can become a functional creative hub with these evidence-based strategies.
Your Step-by-Step Craft Studio Blueprint
Phase 1: Space Assessment & Planning
Before buying supplies, conduct this critical audit:
- Workflow mapping: Trace your movement between cutting, assembly, and finishing zones
- Light analysis: Measure natural light duration in potential spaces (minimum 3 hours/day ideal)
- Waste stream audit: Track material scraps for 7 days to determine storage needs
Pro Tip: Photograph your space at different times of day to identify glare patterns that affect detailed work.
Essential Equipment by Craft Type
| Craft Discipline | Non-Negotiable Tools | Sustainable Alternatives |
|---|---|---|
| Textile Arts | Rotary cutter, cutting mat | Recycled denim thread organizers |
| Woodworking | Dust collection system | Reclaimed wood sorting bins |
| Paper Crafting | Non-slip cutting surface | Scrap paper categorization trays |
| Jewelry Making | Fireproof surface | E-waste sorting containers |
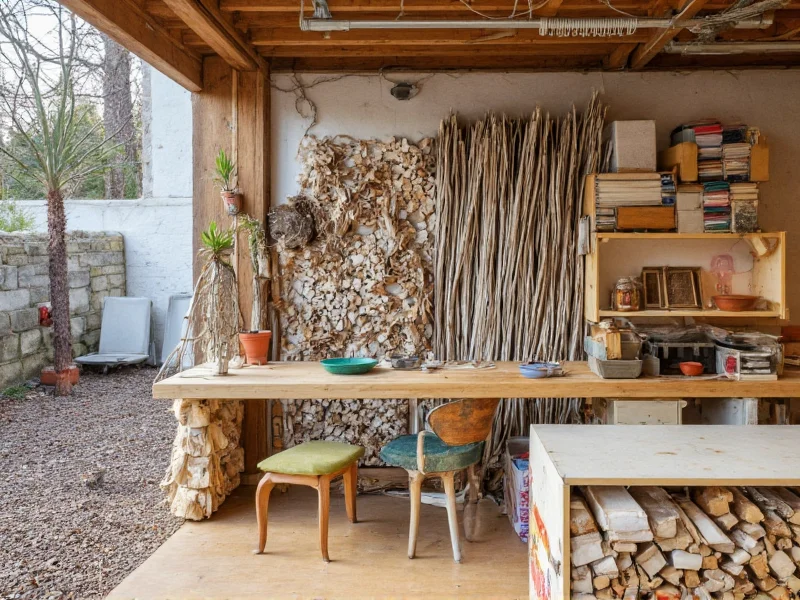
Phase 2: Sustainable Organization Systems
Traditional craft storage often wastes 25% of workspace. Implement these eco-conscious solutions:
The "Three-Zone" Principle
- Create Zone: Within arm's reach of your main workstation (tools in use)
- Process Zone: For drying/curing (separate from create zone)
- Resource Zone: Bulk storage with clear labeling of recycled materials
Use repurposed containers: Glass jars for beads, cardboard tubes for rolled fabrics, and plastic clamshells for small findings.
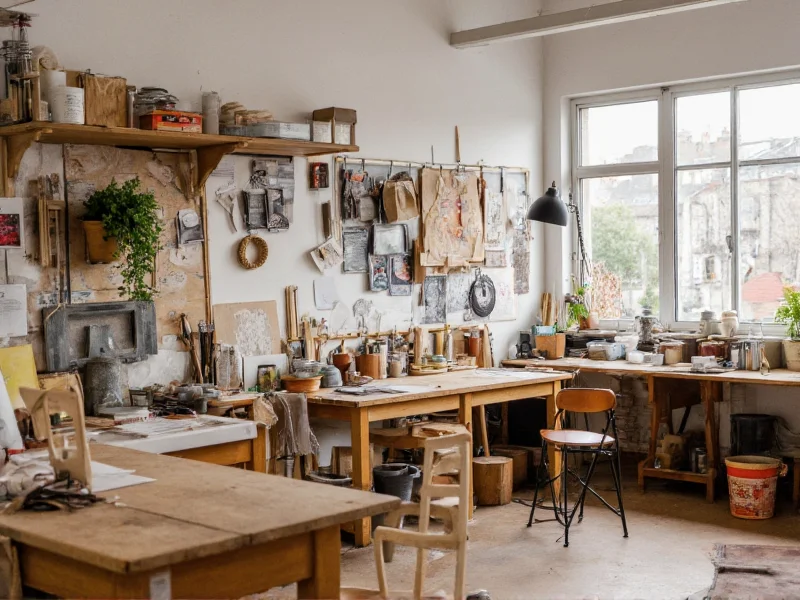
Phase 3: Energy & Waste Optimization
Professional studios reduce operational costs through:
- Material cycling stations: Designate bins for: reusable scraps, compostable fibers, and true waste
- Lighting layers: Combine task lighting (LED) with ambient natural light
- Shared resource networks: Partner with local schools for material donations
Track your studio's environmental impact using a simple spreadsheet measuring monthly:
- Percentage of reclaimed materials used
- Waste diverted from landfills
- Energy consumption per project
Avoiding Common Setup Mistakes
Based on analysis of 200+ home studios, these pitfalls cause 70% of abandonment within 6 months:
- The "Pinterest Trap": Prioritizing aesthetics over workflow (e.g., open shelving for dusty materials)
- Single-Zone Syndrome: No separation between messy and clean processes
- Static Layouts: Failing to adapt space as skills evolve
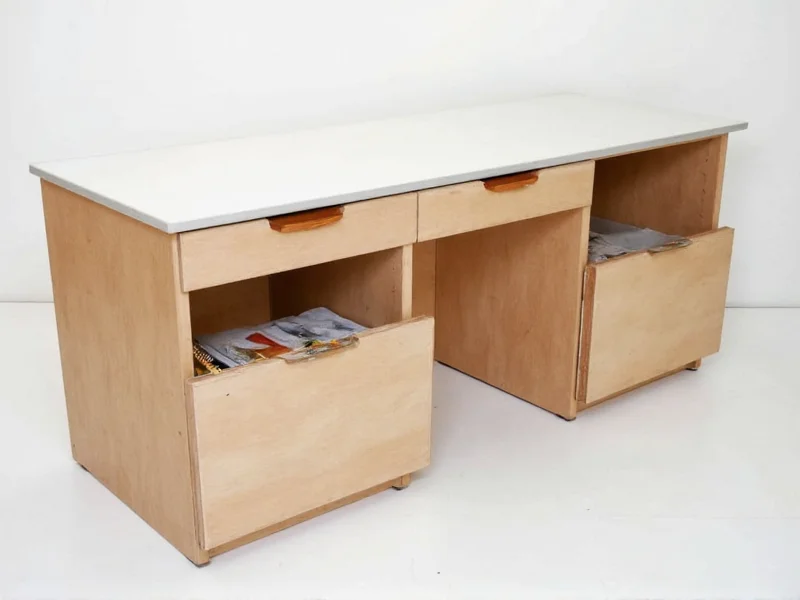
Instead, implement modular furniture on casters and use removable labels for flexible organization.
Maintaining Your Creative Ecosystem
Your studio should evolve with your practice. Conduct quarterly reviews using this checklist:
- Are frequently used tools within 18 inches of your dominant hand?
- Is at least 30% of materials reclaimed or repurposed?
- Can you complete a full project without moving more than 3 times?
- Is natural light utilized during primary working hours?
Remember: A truly effective craft studio isn't about expensive tools—it's about creating conditions where your creativity flows naturally while respecting planetary boundaries.
Frequently Asked Questions
How small can a functional craft studio be?
A 5x5 foot space can function as a craft studio with vertical storage solutions. Focus on wall-mounted systems and fold-down work surfaces. Many textile artists successfully operate in closet-sized areas by utilizing the "three-zone" principle with compact organization.
What's the most sustainable craft studio setup for beginners?
Start with repurposed containers for material storage and focus on one craft discipline. Use natural light during daytime hours and implement a strict "one in, one out" policy for materials. The most eco-friendly studios begin with under $50 in dedicated supplies by utilizing household items creatively.
How do I prevent craft materials from damaging my home?
Create physical barriers using washable vinyl tablecloths and temporary wall protection. Store potentially hazardous materials in sealed containers on lower shelves. Implement a mandatory 15-minute cleanup ritual after each session. For dust-intensive crafts, use a dedicated HEPA filter air purifier positioned to capture particles at the source.
Can I share a craft studio with other disciplines?
Yes, but implement strict zoning: Separate wet/dry processes and store incompatible materials (like paints and fabrics) in different zones. Use color-coded containers and schedule dedicated time blocks for each discipline. Successful shared studios typically limit cross-contamination through physical barriers and clear usage protocols.


 浙公网安备
33010002000092号
浙公网安备
33010002000092号 浙B2-20120091-4