
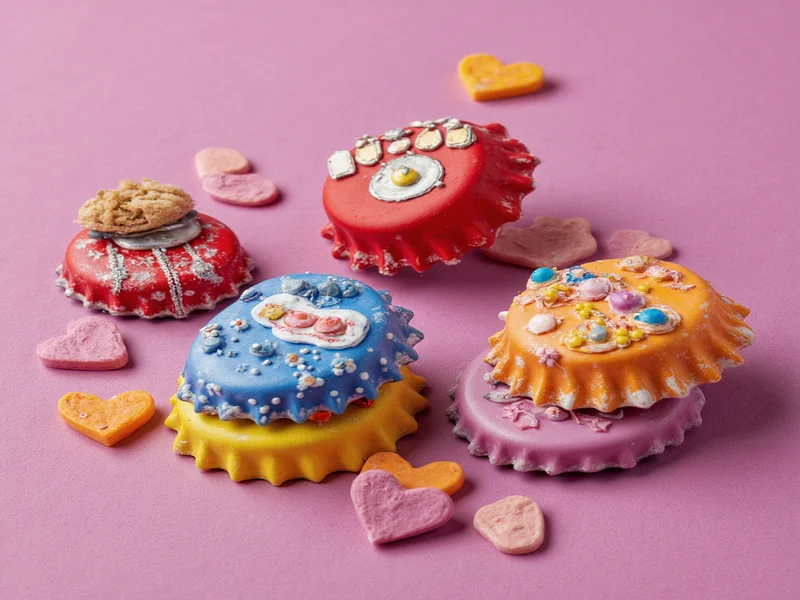
Transform ordinary bottle caps into extraordinary creations with these 10 practical bottle cap crafts. You'll discover beginner-friendly projects requiring minimal tools, eco-friendly techniques for preparing materials, and step-by-step instructions that turn plastic waste into stylish home decor, jewelry, and educational tools—no prior crafting experience needed.
Every year, billions of bottle caps end up in landfills despite being fully recyclable. But what if you could transform these tiny plastic circles into beautiful, functional art? Bottle cap crafts represent one of the most accessible forms of upcycling, requiring minimal investment while delivering maximum creative satisfaction. Whether you're an experienced crafter or complete beginner, these projects help reduce waste while creating meaningful handmade items.
Why Bottle Cap Crafts Matter Now
Plastic bottle caps account for approximately 10% of all beach litter according to environmental studies. By repurposing them into crafts, you're participating in a growing movement that transforms waste into worth. Unlike many recycling programs that exclude small plastics, bottle cap crafts give these items immediate purpose while developing valuable creative skills.
Getting Started: Essential Preparation
Before creating bottle cap crafts, proper preparation ensures safety and professional results. Follow this simple process:
Step-by-Step Bottle Cap Preparation
- Collection: Save caps from beverages over 2-3 weeks (avoid milk or food containers)
- Cleaning: Soak in warm soapy water for 30 minutes, scrub with old toothbrush
- De-labeling: Peel off paper labels; use rubbing alcohol for stubborn adhesive
- Drying: Air dry completely (24 hours) to prevent mold under decorations
- Sorting: Group by size, color, and material (aluminum vs. plastic)
Top 5 Beginner Bottle Cap Crafts
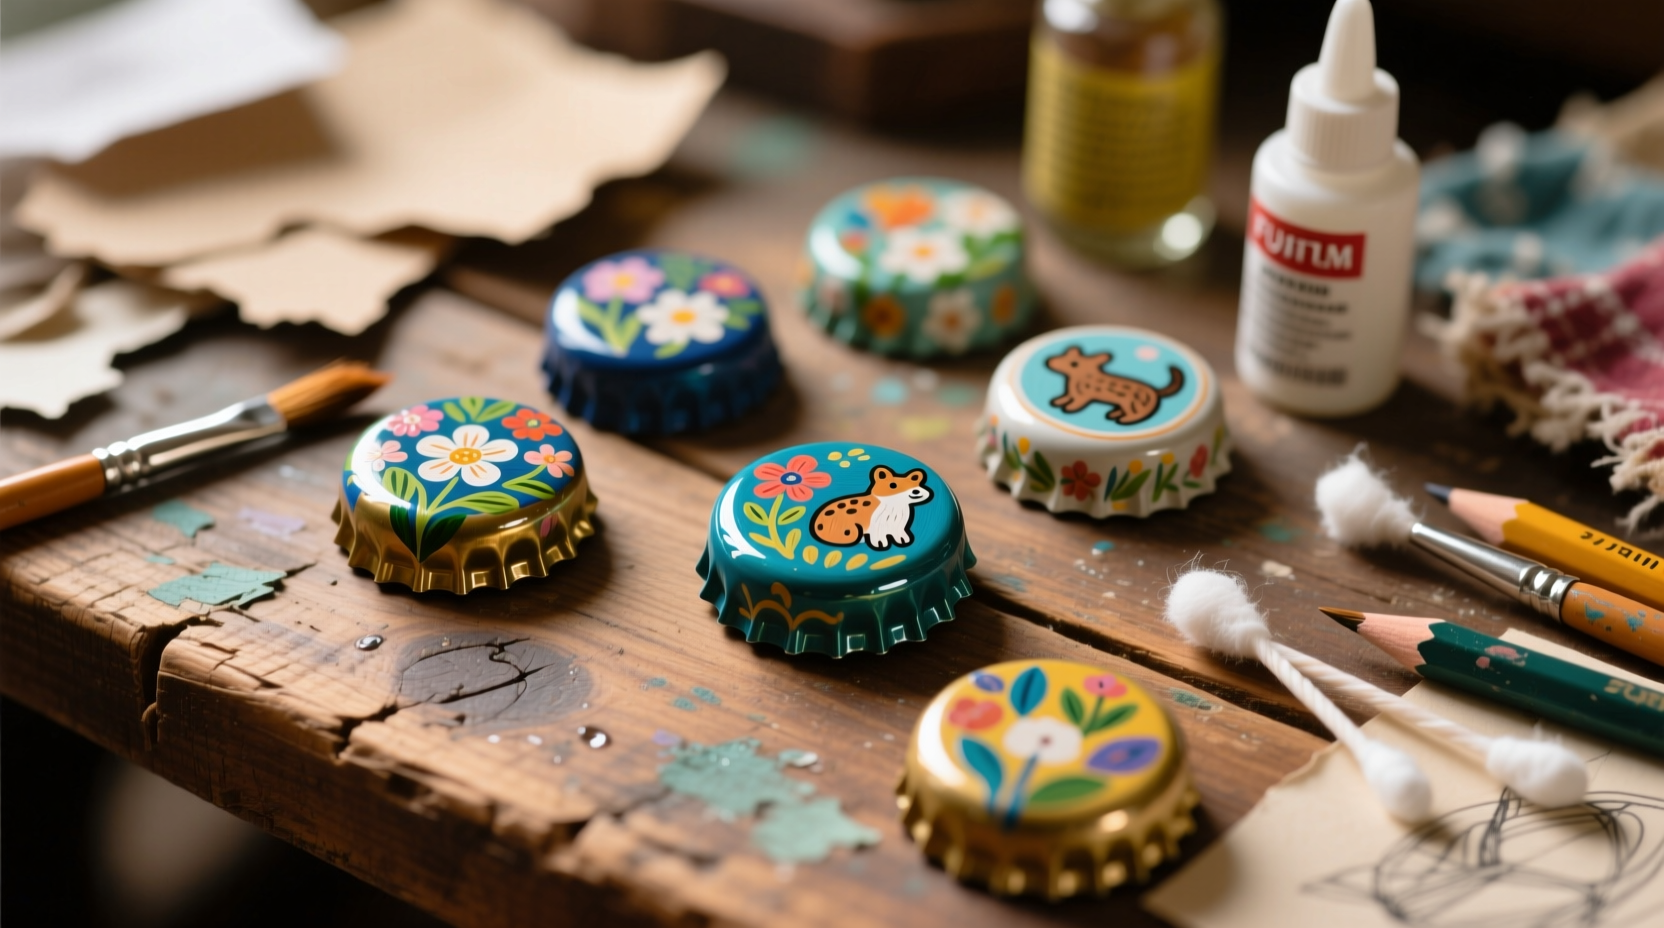
1. Bottle Cap Magnets (15 Minutes)
Difficulty: ★☆☆☆☆ | Materials: Bottle caps, strong magnets, epoxy resin, decorative paper
Instructions
- Cut decorative paper to fit inside cap
- Apply thin layer of epoxy to cap interior
- Press paper into place and let dry 2 hours
- Glue magnet to back with waterproof adhesive
- Cure overnight before use
Pro Tip: Use bottle caps from international beverages for unique souvenir magnets.
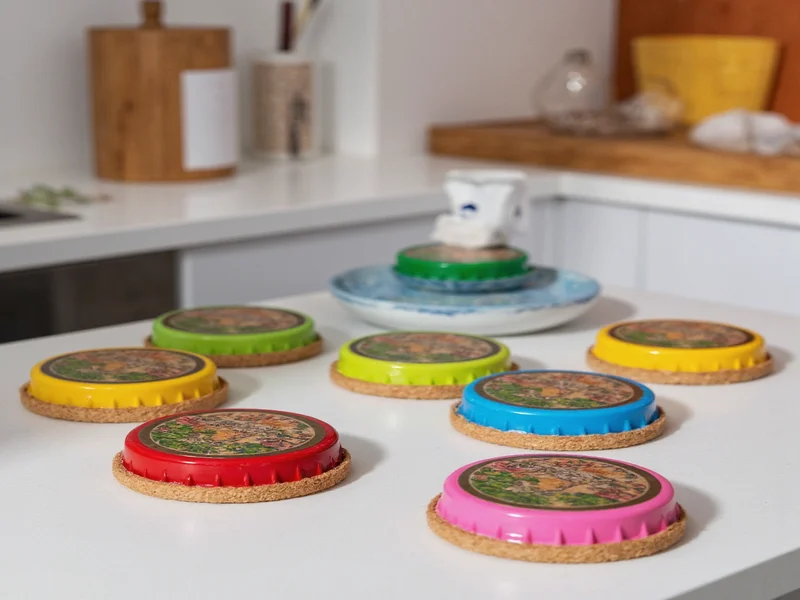
2. Coasters from Bottle Caps (30 Minutes)
Difficulty: ★★☆☆☆ | Materials: 12 bottle caps, hot glue gun, cork base
Instructions
- Arrange caps in 3x4 grid pattern
- Glue caps together at touching points
- Attach to pre-cut cork base (4x4 inches)
- Seal with clear acrylic spray
Variation: Create themed sets using caps from specific beverage brands.
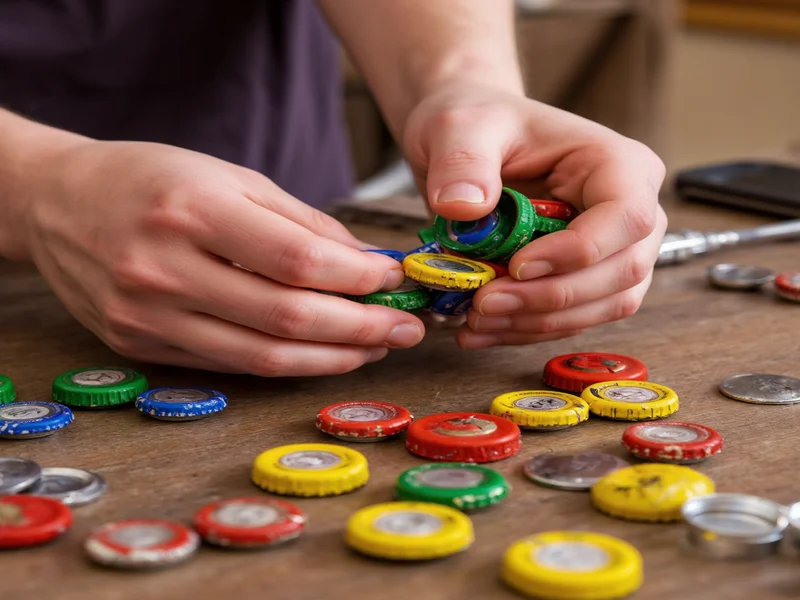
3. Bottle Cap Jewelry (20 Minutes)
Difficulty: ★★☆☆☆ | Materials: Bottle caps, jump rings, pliers, decorative elements
Instructions
- Flatten caps using hammer on hard surface
- Punch hole near edge with nail and hammer
- Add decorative elements (resin, fabric, paint)
- Attach jump ring through hole
- Connect to chain or earring hook
Intermediate Projects for Skill Development
| Craft Project | Time Required | Special Tools Needed | Eco-Benefit |
|---|---|---|---|
| Bottle Cap Mosaic Art | 3-4 hours | Tile cutter, grout | Replaces 1 sq ft of commercial tile |
| Plant Markers | 1 hour | Permanent markers | Eliminates plastic plant tags |
| Keychains | 20 minutes | Keyring hardware | Reduces single-use key tags |
Troubleshooting Common Issues
Problem: Paint won't adhere to bottle caps
Solution: Lightly sand caps with 220-grit paper before painting. Use primer designed for plastics. Acrylic paints work better than watercolors on plastic surfaces.
Problem: Caps separate from base material
Solution: Use E6000 craft adhesive instead of hot glue. Allow 24-hour curing time before handling. Roughen contact surfaces slightly with sandpaper.
Maximizing Your Bottle Cap Craft Experience
For truly exceptional bottle cap crafts, consider these professional techniques:
- Color Coordination: Sort caps by color family for cohesive projects
- Texture Variation: Combine aluminum and plastic caps for visual interest
- Scale Play: Mix standard and larger sports drink caps for dimension
- Community Sourcing: Partner with local cafes for cap donations
Remember that bottle cap crafts serve dual purposes—they're not just creative outlets but meaningful contributions to waste reduction. Each craft you create represents plastic diverted from landfills and oceans. The most successful bottle cap artists develop signature styles while maintaining environmental consciousness.
Frequently Asked Questions
Can I use bottle caps from carbonated beverages for crafts?
Yes, beverage bottle caps work perfectly for crafts. Just ensure they're thoroughly cleaned and dried to remove any residual sugars that could attract insects or cause odors in your finished projects.
What's the best adhesive for bottle cap crafts?
E6000 craft adhesive provides the strongest bond for bottle cap projects. For quick temporary holds during assembly, hot glue works well, but always follow with a permanent adhesive for lasting results.
How do I flatten bottle caps without damaging them?
Place caps upside down on a hard surface and gently tap with a rubber mallet. For stubborn caps, sandwich between two pieces of wood and press with a vise for controlled flattening.
Are bottle cap crafts suitable for children?
Yes, with supervision. Focus on simple projects like painting or making magnets. Avoid small parts and toxic materials. Bottle cap crafts teach children valuable lessons about recycling and creativity.


 浙公网安备
33010002000092号
浙公网安备
33010002000092号 浙B2-20120091-4